
Overview
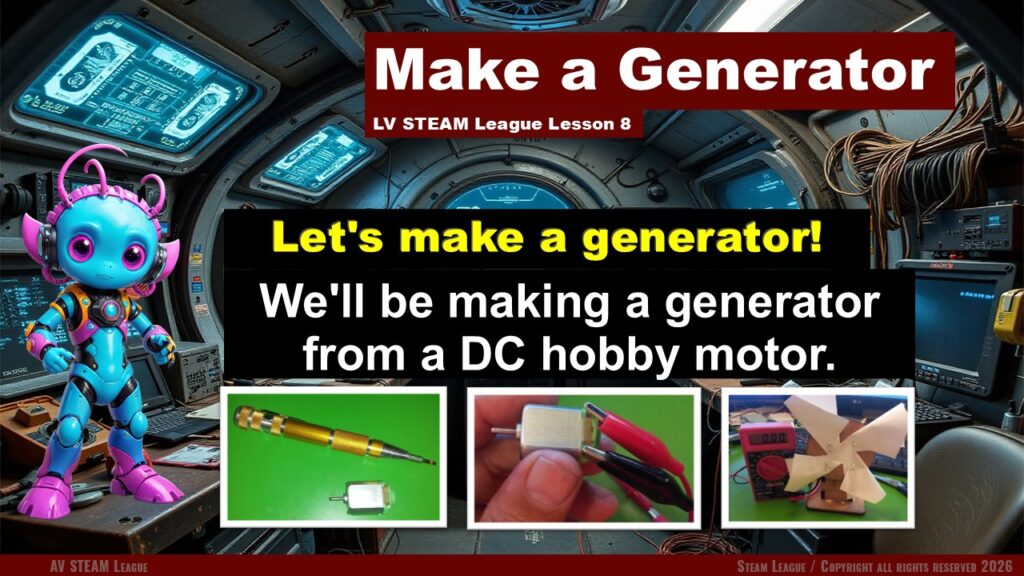
In this lesson students step into the role of real makers by building their own working generator using the STEAM League Generator Kit. Students learn that a simple DC hobby motor can act as a generator when its shaft is spun, and that inside the motor are coils, magnets, and a commutator exactly like the parts we studied in the previous lesson. Students assemble their generator using the provided kit, explore how mechanical motion becomes electrical energy, and test the output with a multimeter. The lesson ends with a playful engineering challenge where they transform their generator wheel into a small wind turbine. The experience helps students feel the excitement of building something real and seeing science come alive in their hands.
Student Learning Goals
By the end of this lesson students will be able to:
• Identify the key parts inside a small DC motor that allow it to act as a generator
• Assemble the STEAM League Generator Kit using the included instructions
• Use a multimeter to measure voltage produced by their generator
• Compare output when the motor is spun by hand, by wheel, and by wind
• Build a simple propeller to create a small wind turbine
• Record their observations and reflect on what affects generator output
Materials Needed
STEAM League Generator Kits (one per student or team)
DC hobby motor
Zip ties
Multimeter with jumper cables
Paper for propeller activity
Thumb tacks
Scissors
Journals
Teacher Preparation Notes
Each generator kit includes all required parts and assembly instructions. Students should follow the kit instructions step by step. However, they should not disassemble the motor itself. Only the teacher should open a motor as a demonstration. This helps protect the delicate internal parts and keeps the lesson safe. Prepare one motor that you have disassembled beforehand so students can see the coils, the commutator, and the magnets.
Have multimeters ready at each table with probes and jumper cables. Make sure wooden mounts and wheels fit properly before class.
Safety Notes
We handle motors gently.
We do not take apart any motor except the teacher demonstration motor.
We keep fingers behind probe guides when using the multimeter.
Zip ties and thumb tacks should be used carefully and only for their intended steps.
There is virtually zero electrical shock risk when working with a small DC motor and multimeter.
Warm Up Activity
Hold up a DC motor and ask:
Do you think this tiny motor could generate electricity if we spun it
Let students guess. Then explain that today they will build something real that proves it.
Lesson Flow
Step One: Inside the Motor
Before assembly, demonstrate the inside of a motor using your pre opened example. Show students:
• The wire coils
• The magnets
• The commutator
Explain that these same parts will generate electricity once the motor spins.
Journal prompt:
What part do you think does the most work inside a generator
Step Two: Begin Assembly with the STEAM League Kit
Students take out their kits and follow the included assembly instructions. Guide them calmly through:
• Positioning the motor on the wooden mount
• Threading and tightening zip ties
• Attaching the wooden wheel
Teacher note: Keep the pace slow so that everyone feels confident.
Step Three: First Voltage Test
Students connect jumper clamps from the multimeter to the motor leads. Demonstrate how to:
• Set the multimeter to DC 20 volts
• Spin the shaft with their fingers and observe the reading
Let students record their first voltage reading.
Step Four: Spin the Wheel
Now students attach the wooden wheel and spin it again. Encourage them to compare output:
How does the voltage change when you spin the wheel instead of your fingers
Let them test multiple speeds.
Teacher note: Celebrate even small voltage increases.
Step Five: Build the Propeller Upgrade
Students cut their paper into four flaps, fold them like propeller blades, and attach them to the wheel using thumb tacks.
Reattach the wheel and let students blow on it or place it in front of a fan. They watch their motor spin and generate electricity from wind.
Journal prompt:
Describe how your voltage changed when you used the propeller.
Step Six: Creative Brainstorm
Ask students:
What other ways could you make this generator turn
Encourage ideas like water flow, pedals, gears, rubber bands, or hand cranks.
Teacher Notes for Each Slide
Slide 1 Title: Introduce the goal.
Slides 2 to 9 Motor internals: Use teacher demo, students do not disassemble.
Slides 10 to 14 Testing the generator: Walk through multimeter steps.
Slides 15 to 18 Mounting and using the wheel: Go slowly.
Slides 19 to end Propeller turbine: Encourage creativity.
Independent or Group Activity
Students design their own generator upgrade in their journals. They sketch a system that turns the motor using any creative method they can imagine.
Vocabulary and Concepts
Generator A device that turns motion into electricity
Coil The wrapped wire inside a motor that produces electricity when spun
Commutator The part that connects electricity as the coil rotates
Mechanical energy Movement that creates electrical energy
Voltage The measurement of electrical output
Wrap Up
Ask students:
What surprised you about your generator
Which method made the most electricity
Invite them to share discoveries.
Exit Ticket
Draw your generator and label the wheel, motor, and magnets.
Or write one sentence about how spinning creates electricity.
Quiz
- Why can a DC motor act as a generator
- What tool do we use to measure output
- Why should students not take apart the motor
- What happened when you spun the wheel faster
- What did the propeller help demonstrate
Teacher Reflection
Did students follow the assembly instructions successfully
Did the motor demonstration help understanding
Would you adjust pacing or add more hands on examples next time