
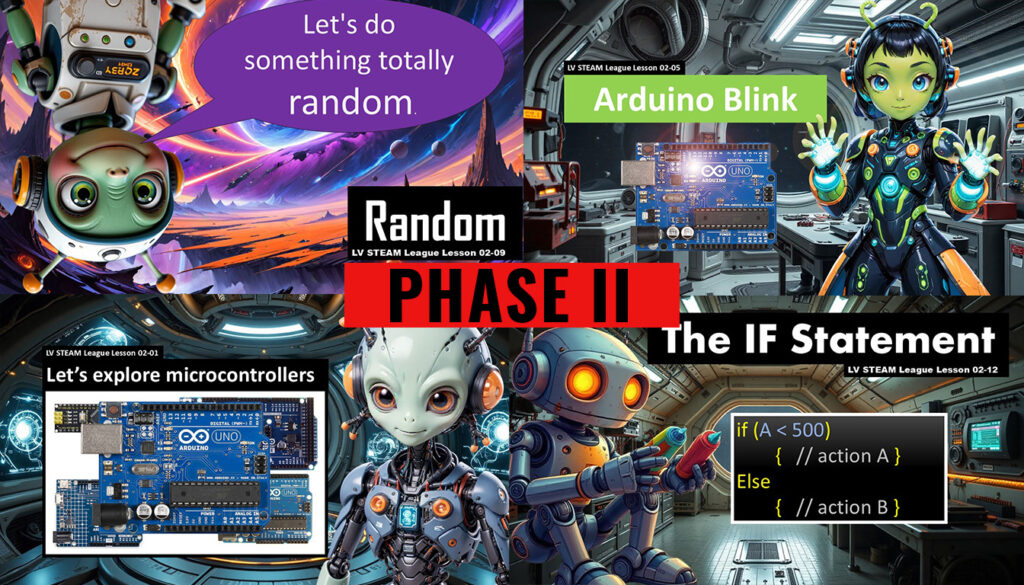
Phase II: Arduino Foundations introduces students to real microcontroller programming as they learn how computers sense and interact with the physical world. Through hands-on projects with sensors, lights, and sound, students write their own code to gather information, evaluate the data, and create visible results. By the end of Phase II, every learner is confidently building simple robots that follow the S E A approach: Sense the world, Evaluate the Data, and Act using logic. This phase builds the essential skills needed to move forward into Phase III where robots gain motors, movement, and advanced abilities.
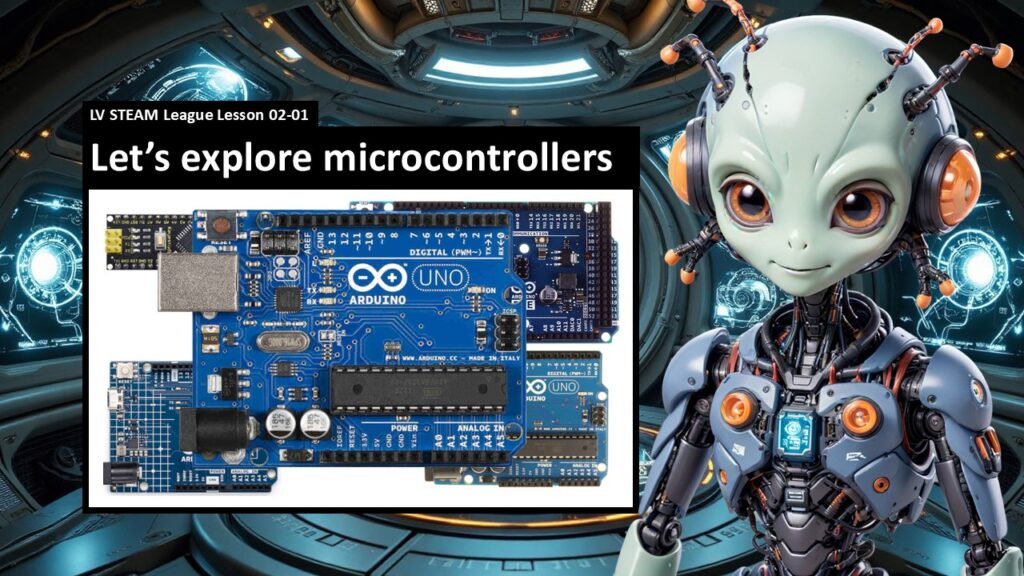
02-01 Let’s Explore Microcontrollers
Students discover the difference between full computers and microcontrollers and learn why a tiny chip like the Arduino can power interactive projects, art installations, and robotics. This lesson introduces the idea that microcontrollers are designed to run a single program repeatedly with perfect timing, forming the “brains” behind modern electronics.
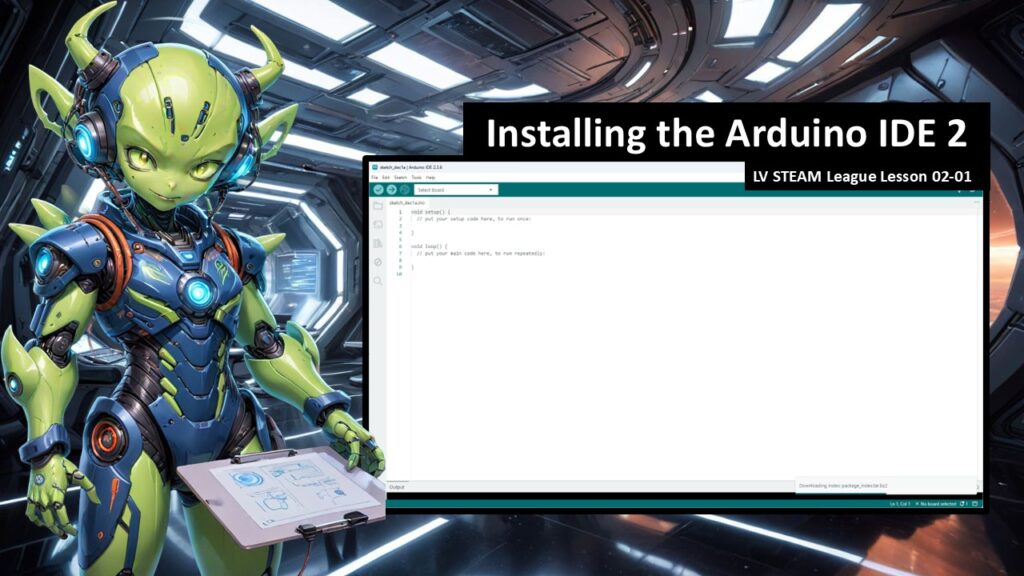
02-02 Installing the Arduino IDE
This lesson walks students through downloading and installing the official Arduino programming software, called the IDE. They learn what the IDE does — writing code, uploading programs, and viewing feedback — while gaining confidence navigating menus and preparing their computers for programming hardware.
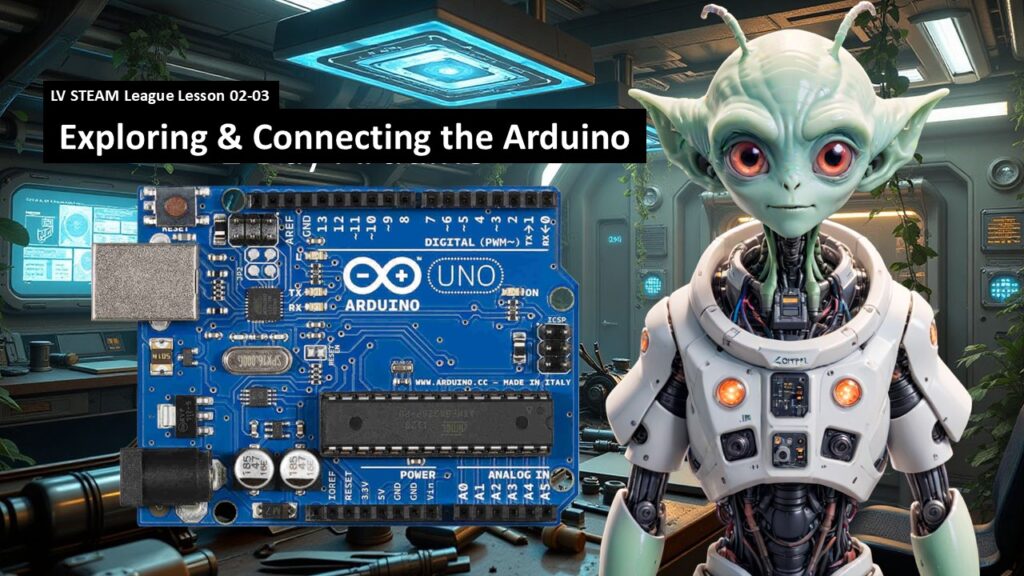
02-03 Let’s Connect the Arduino
Students explore the Arduino Uno board, identifying ports, pins, LEDs, and safety considerations. They learn the difference between digital and analog signals and then plug in their board to upload their very first program, seeing the Arduino communicate through the built-in lights.
02-04 Introduction to Code
Students get their first look at what computer programming really is by comparing binary machine language with human-readable source code. They discover that Arduino uses the C language, learn about syntax and structure, and begin to understand how code becomes actions in the real world.
02-05 Blink
The classic beginner challenge: make an LED blink. Students learn about variables, setup and loop functions, pinMode, digitalWrite, and timing with delay. By breaking each line down, they see how simple commands control real electrical components.
02-06 Breadboard Blink Extend
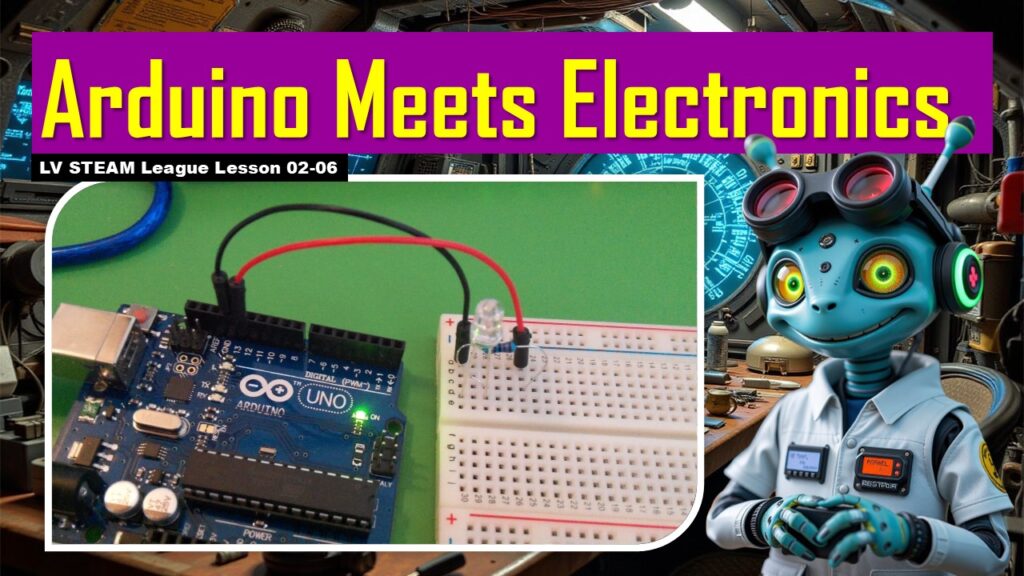
Students take the blinking LED off the Arduino board and onto a breadboard using a resistor and jumper wires. They learn why resistors protect components and how to move outputs to any digital pin by changing both the wiring and the code.
02-07 Blink Two
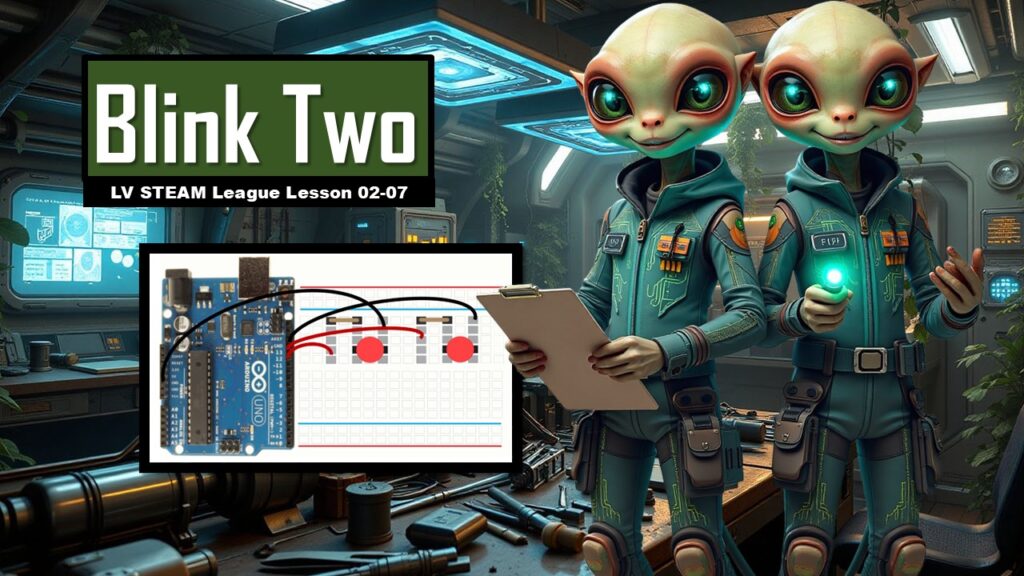
TLights meet sound as students add a piezo buzzer to create tones and musical effects. Using the tone command, they learn how to control pitch and duration, experiment with melodies, and bring auditory feedback into their projects.
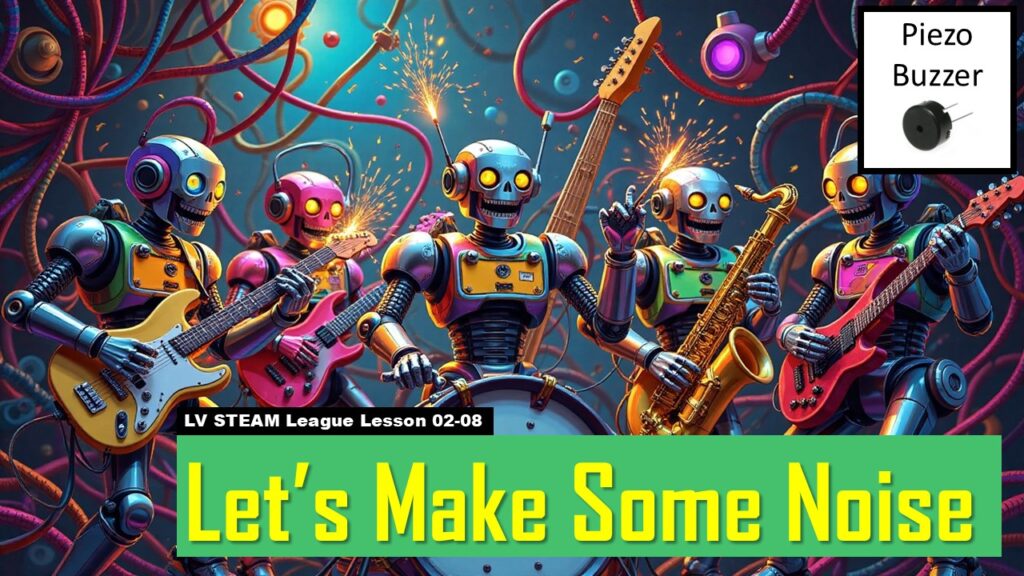
02-08 – Make Some Noise
Lights meet sound as students add a piezo buzzer to create tones and musical effects. Using the tone command, they learn how to control pitch and duration, experiment with melodies, and bring auditory feedback into their projects.
02-09 Random
In this creative lesson, students introduce randomness into their code so the Arduino can behave differently each time it runs. They combine random pitch and timing to generate surprising sound patterns, learning that computers can simulate unpredictability.
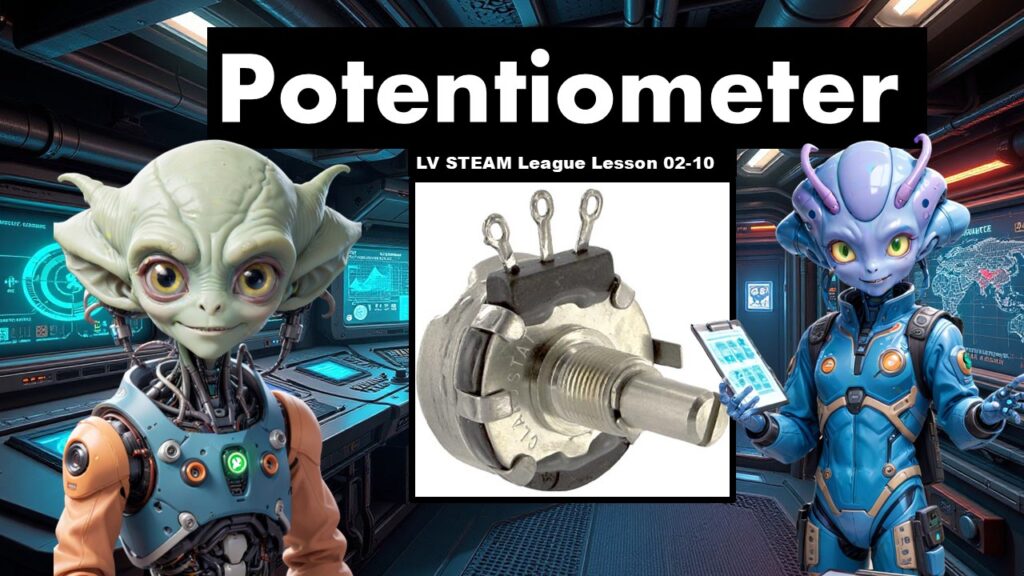
02-10 Potentiometers
Students learn how to gather real-time data from the world by reading a potentiometer — a turning knob that changes voltage. They use analogRead to convert position into numbers and then use those numbers to control pitch, discovering how sensors become inputs to co
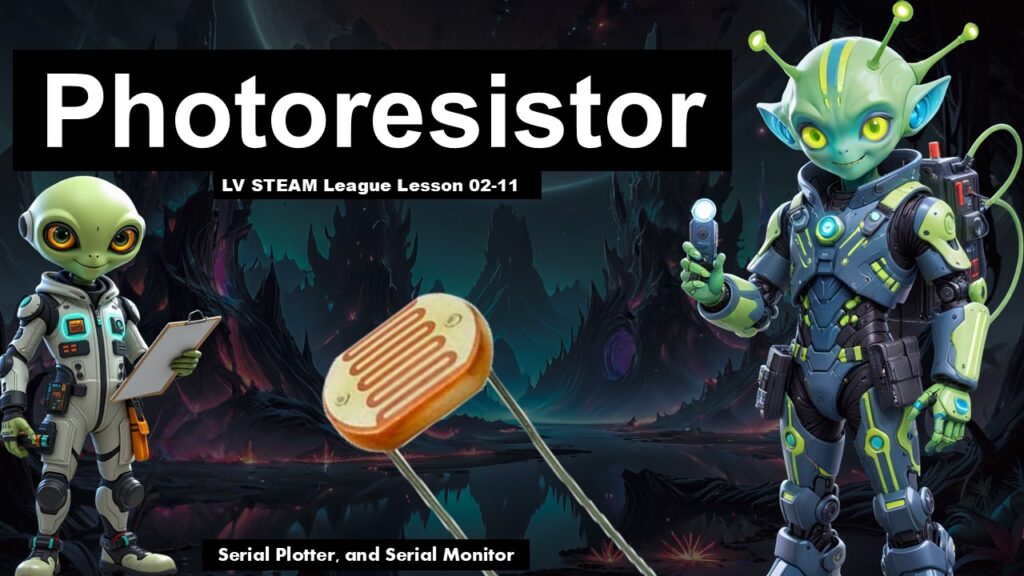
02-11 Photoresistors
Students give their projects “vision” with a light sensor. They track changing brightness using the Serial Monitor and Serial Plotter, learning how data helps programmers understand what the hardware is sensing and how the environment affects the electronics.
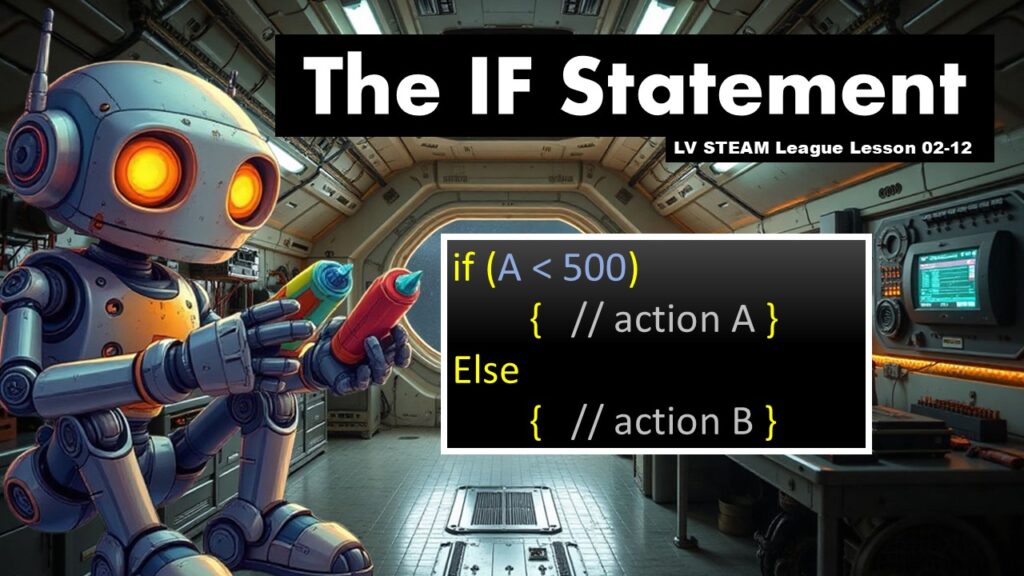
02-12 If Statement
Students unlock decision-making in robotics by using if and else logic. Using readings from the photoresistor, their circuit chooses which LED to activate, proving that robots can evaluate data and respond differently based on conditions — a core part of intelligent behavior.
02-13 The Conclusion
Students review everything they have learned and recognize that they now have all three elements of a working robot: Sense, Evaluate the data, and Act using code. Their final challenge is to design and build a simple robot that uses one sensor and one output to perform a unique action, preparing them for advanced motor control in Phase III.