
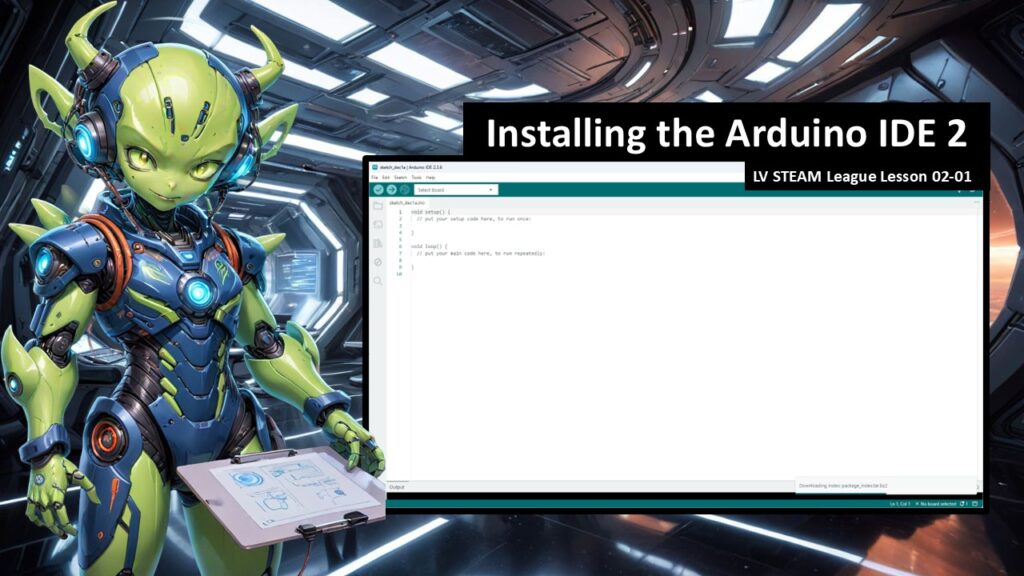
This lesson gently walks students and teachers through installing the Arduino IDE. The IDE is the home where students will write, edit, and upload their first Arduino programs. Our goal is to help everyone feel calm and confident with the software setup so they can move easily into coding in the next lesson.
Installing software can feel intimidating, especially on school computers, so this lesson focuses on clarity, reassurance, and slow steady steps. Students will learn what the IDE is, why it matters, and how to recognize the basic parts of the interface once it opens.
Student Learning Goals
By the end of this lesson students will be able to
• Understand what the Arduino IDE is and what it does
• Navigate to Arduino.cc and download the correct installer
• Follow step by step installation prompts
• Recognize common security or permission warnings
• Open the IDE and identify the basic workspace
• Feel comfortable getting ready to write code in the next lesson
Materials Needed
Class computers or Chromebooks
Internet access
Arduino boards for later lessons
Teacher computer connected to a projector
Optional printed walkthrough sheets
Notebook or scratch paper
Teacher Preparation Notes
Please check whether the computers are school managed. If they are, installations may require administrator approval, which is mentioned directly in the PPT.
Before class
Open Arduino.cc and navigate to the downloads page so you can show students where they are headed.
Test your own installation so you recognize the prompts they will see.
Have a backup plan such as pairing students or demonstrating the process if installation is blocked.
Remember that installing software can bring up unexpected security messages. Keep your tone calm and reassuring so students stay relaxed.
Safety Notes
We stay seated at our computers.
We follow teacher instructions before clicking anything.
We do not bypass warnings without checking with the teacher.
We keep our workspace clear so wires and devices are safe when we later plug in our Arduinos.
Warm Up Activity
Ask students
Where do you think code lives before it goes into a robot
Let them guess. Some will say a file. Some will say a website. Celebrate all answers.
Explain that code needs a home. The Arduino IDE is that home. It is where ideas turn into instructions the Arduino can understand.
This leads naturally into the installation steps.
Lesson Flow
**Step One
What Is the Arduino IDE**
Introduce the term IDE.
Explain in friendly language that an IDE is simply the place where students will write code, check it, and send it to the Arduino.
Use the slide’s definition to highlight that the IDE combines several tools into one easy space.
Teacher note
Keep this light. Students do not need to understand compilers or debugging yet. They only need to know this is where their creativity will live.
**Step Two
Go to Arduino.cc**
Show the URL and remind students it is the official safe site for everything Arduino.
Students type in the address slowly and carefully.
Teacher note
Walk around and help anyone who mistypes the site. Encourage calmness and patience.
**Step Three
Download the Installer**
Guide students through clicking the Downloads page.
Select the version for Windows or Mac depending on the classroom computers.
Slides show numbered steps such as Select, Download, Agree to Terms, Next, and Finished.
Tell students
Take your time. Each click is just one small step forward.
**Step Four
Security Warnings and Admin Permissions**
Explain that warnings are normal. The IDE is trusted software used worldwide.
If the computer requires admin permission, pause and follow your school’s procedure.
Teacher note
Reassure students
You didn’t do anything wrong. This is just how school computers work.
**Step Five
Installation Walkthrough**
Continue through the numbered installation slides.
Guide students through each window
Agree
Next
Install
Then celebrate with them when they see the “Finished” screen.
**Step Six
Open the IDE for the First Time**
Students should now see the IDE window on screen.
Let them explore visually for one minute.
Point out
• The coding area
• The message console
• The upload button
• The board selector
Mention that next lesson they will write their very first lines of Arduino code.
**Step Seven
Group Reflection**
Ask
What part felt easy
What part felt confusing
How did it feel to get the software installed
Let students share their experiences. Encourage them to feel proud of completing a real technical setup.
Teacher Notes for Each Slide
(Short, friendly reminders)
Slide
IDE definition
Keep it simple. IDE just means “the place we write code.”
Slide
School Administrator Notice
Let teachers know installation might be blocked. Stay calm and supportive.
Slides
Website steps
Guide slowly. Model the steps.
Slides
Select, Download, Agree, Next
Pause so students do not rush.
Slide
System warnings
Reassure students that these prompts are normal and safe.
Slide
You should now be seeing this
Celebrate success. Let them explore the IDE window.
Independent or Group Activity
Ask students to draw or label the basic parts of the IDE window
• Code area
• Upload button
• Message console
• Board selection area
This helps them feel grounded before writing code later.
Vocabulary and Concepts
IDE
The home where you write and upload code to the Arduino.
Installer
The file that sets up the software on your computer.
Permissions
When a computer asks if you are allowed to install something.
Upload
Sending your code from the IDE to the Arduino board.
Wrap Up
Ask
What surprised you about installing software
What part of the IDE looks the most interesting
Remind them that next lesson they will write their first Arduino program.
Exit Ticket
One
What is the Arduino IDE used for
Two
What is one step you remember from installation
Quiz
1. Multiple Choice
What does IDE stand for
Integrated Development Environment
Interactive Device Engine
Input Data Editor
2. Short Answer
Where do we download the Arduino IDE
3. Multiple Choice
A security warning during installation means
Something is broken
Your computer is checking for safety
The software is dangerous
4. Short Answer
Name one thing you can see when the IDE window opens.
5. Short Answer
Why do we need the IDE before writing code
Teacher Reflection
Did students remain calm during installation
Were any steps unclear
Do school computers require special permissions
What support or pacing adjustments might help next time