
The Phase 1 Robotics course introduces middle school students to the foundations of being a Maker, the mindset of hands-on engineering, and the core scientific principles that support robotics. Students learn that robotics is not just about machines — it’s about curiosity, documentation, safe tool use, teamwork, iteration, and the ability to analyze what works and what doesn’t. Through a combination of structured exploration, small experiments, and journal-driven reflection, learners begin building both practical skills and scientific thinking. The early lessons intentionally move from mindset to tools to basic electrical concepts, setting students up for success when they begin building real robots later in the program. The course establishes a strong foundation in maker culture, safe tool-handling, electricity basics, battery behavior, and material conductivity, all while encouraging creativity, design thinking, and technical confidence.

Lesson 1 — Welcome to Phase 1
This lesson introduces students to what it means to be a Maker and a member of the AV STEAM Robotics League. It breaks down the myths of robotics being “too hard” or “only for geniuses” and replaces them with the real foundations of creativity, teamwork, and persistence. Students explore how robots are already part of everyday life, learn that failures are normal steps in invention, and participate in a hands-on challenge that reinforces the idea that building anything big begins with building something small.
Lesson 2 — The Journal

This lesson teaches students the importance of keeping an engineering journal, showing them how inventors, scientists, and makers have documented their ideas for thousands of years — from clay tablets and scrolls to modern lab books. Students learn how journaling helps them think like engineers: recording observations, tracking experiments, drawing designs, asking questions, and evaluating results. The lesson walks through what to record before, during, and after investigations, and establishes journaling as a core habit they’ll use throughout the robotics course.
Lesson 3 — Tools and Test Equipment
Students are introduced to the essential tools they’ll use in robotics, including screwdrivers, pliers, wire strippers, wire cutters, wrenches, hex drivers, ratchets, multimeters, and insulating tape. The lesson explains how each tool functions, emphasizes safety, and builds confidence through small hands-on tasks such as cutting and stripping wire. It also introduces the “hot tools” rules for glue guns and soldering irons and establishes the aviation-style tool checkout system, teaching students the importance of accountability, cleanliness, and respecting shared equipment.
Lesson 4 — Stored Energy & The Multimeter

This lesson explores the science behind stored electrical energy, from ancient static electricity experiments with amber to modern chemical batteries. Students learn the concepts of voltage (electrical pressure) and amperage (amount of electron flow), and discover how electrons behave when packed inside a battery. They are introduced to electrical safety, then learn how to properly use a multimeter to test voltage and battery load. Through hands-on measurements with real batteries, students begin understanding how electrical systems behave in the real world and how to read and interpret instrument data.
Lesson 5 — Lemon Battery / Stored Potential Energy
Students learn how chemical reactions can generate electricity and explore stored potential energy by building their own lemon batteries. The lesson reviews voltage and amperage in simple terms, explains why different batteries store different amounts of power, and introduces series vs parallel circuits using fruit as the power source. Students use zinc and copper electrodes, measure the voltage produced with a multimeter, and experiment with connecting multiple lemons in series to light an LED. Creativity is encouraged as students test different fruits and vegetables to compare their electrical output.
Lesson 6 — Conductivity & Resistivity
In this lesson, students dive into why electricity moves through some materials and not others by exploring the concepts of conductivity and resistivity. They learn how wires are designed, why metals conduct electricity, and why insulators like rubber protect us. Using a battery box, alligator clips, and a multimeter, students test a variety of classroom materials to see whether they conduct electricity. The lesson reinforces electrical safety and encourages experimentation, helping students understand how circuits behave in the real world and how materials affect electron flow.
Lesson 7 — Power Generation
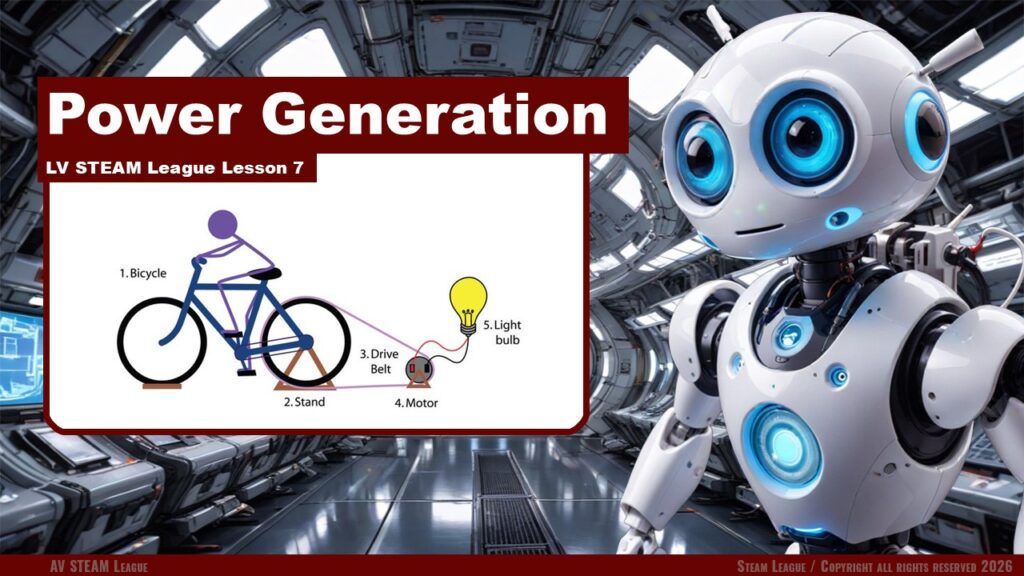
This lesson helps students discover how electrical power is actually created in the real world. Instead of seeing electricity as something that simply appears from an outlet, students learn that it begins with movement. Through Faraday’s discovery, they explore how spinning a coil of wire near magnets sets electrons in motion and becomes usable electricity. Students examine different real world methods of turning generators such as wind, water, steam, and human power, and they begin to understand that every method of power generation starts with motion.
Lesson 8 — Make A Generator
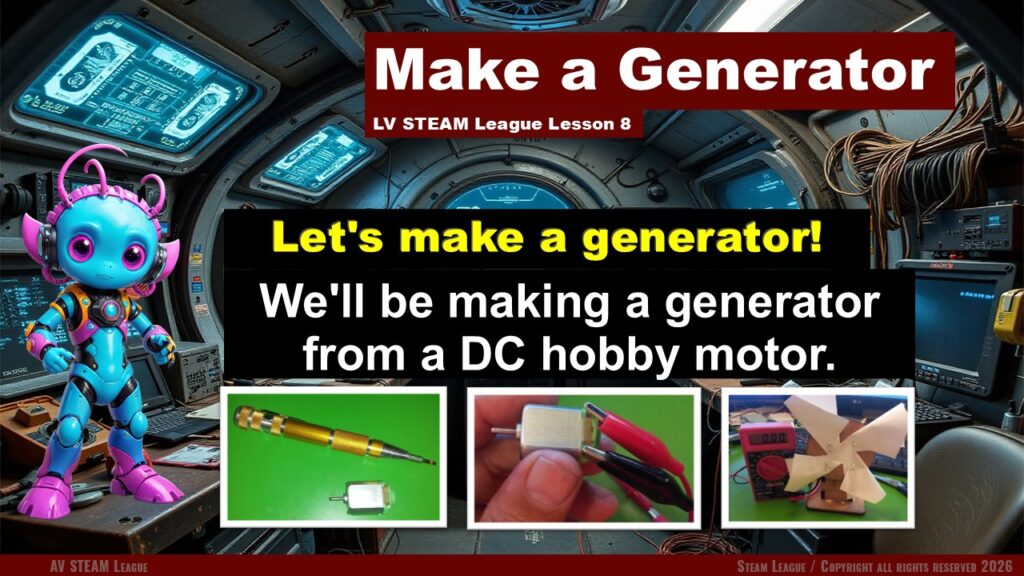
In this lesson students step into the role of real makers by building their own working generator using the STEAM League Generator Kit. Students learn that a simple DC hobby motor can act as a generator when its shaft is spun, and that inside the motor are coils, magnets, and a commutator exactly like the parts we studied in the previous lesson. Students assemble their generator using the provided kit, explore how mechanical motion becomes electrical energy, and test the output with a multimeter.
Lesson 9 — Make A Motor
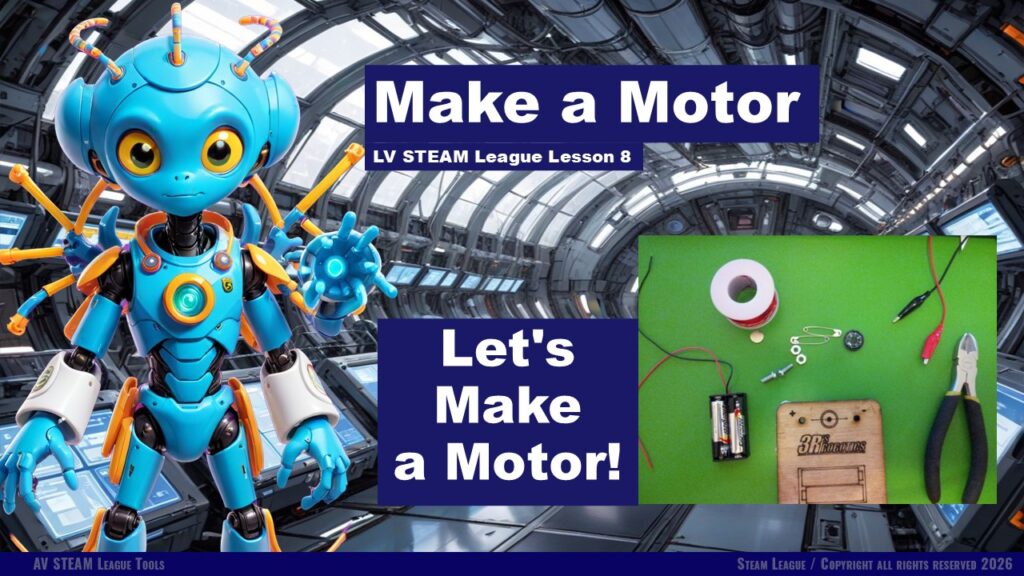
In this lesson students explore how motors work by building a simple DC motor using the LV STEAM League Motor Kit. They discover that a motor is just a generator in reverse. Instead of creating electricity, a motor uses electrical energy to produce motion. Students learn about the different types of motors, examine the shared components (magnets, coils, commutator), and then build their own working motor. The goal is to help students build confidence while working with magnetic fields, coils, and simple electrical connections.
Lesson 10 – Explore DC Motors
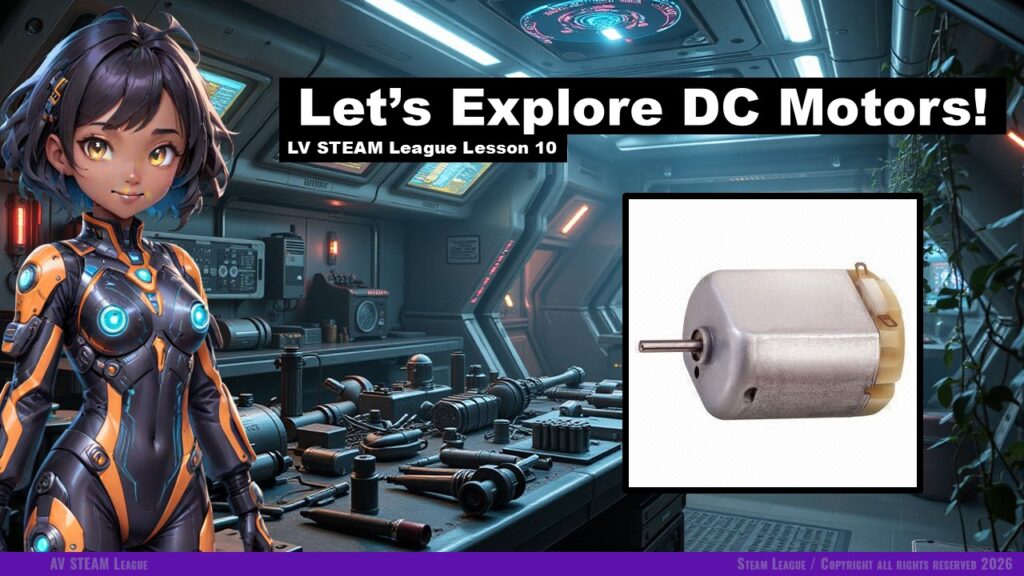
In this lesson students explore how different types of motors behave when powered by simple DC circuits. The goal is to help students build comfort with motors by giving them safe, hands-on time to experiment. They learn the difference between AC and DC electricity, discover how polarity affects motor direction, and observe how a DC motor responds when connected to a battery box.
Lesson 11- Circuit Diagrams
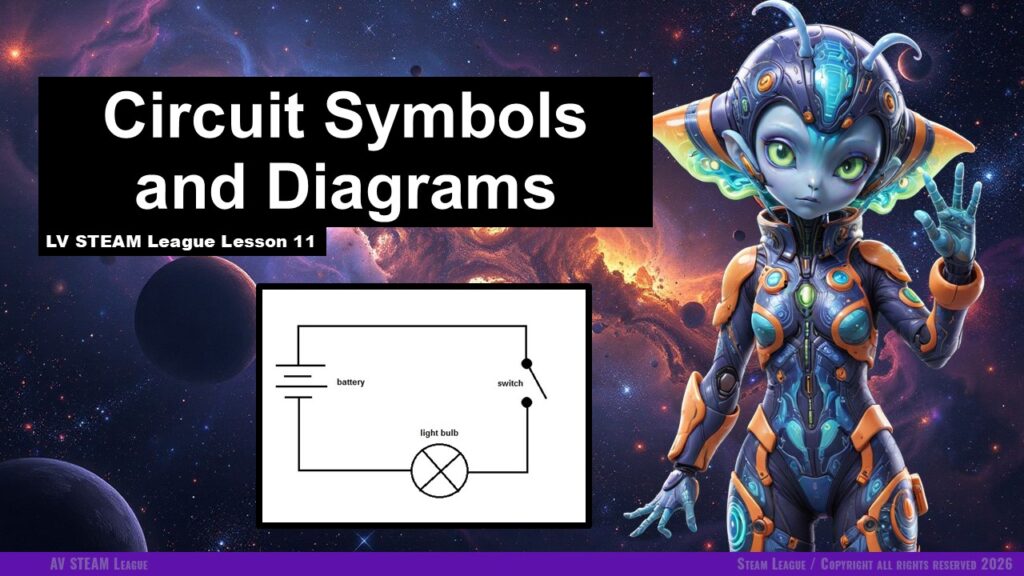
In this lesson students learn how to read and draw circuit diagrams using simple, clear symbols. They discover that a circuit diagram is like a map that shows how electrical components connect together. The lesson keeps the tone warm and encouraging, helping students understand that they don’t need to be experts to read diagrams—just like learning sheet music, the symbols simply give them a new language that makes building circuits easier. Students practice identifying symbols, drawing them in their journals, reading simple diagrams, and creating one of their own to share with a partner.
Lesson 12 – Lamps, Switches, Wires, and Conductivity
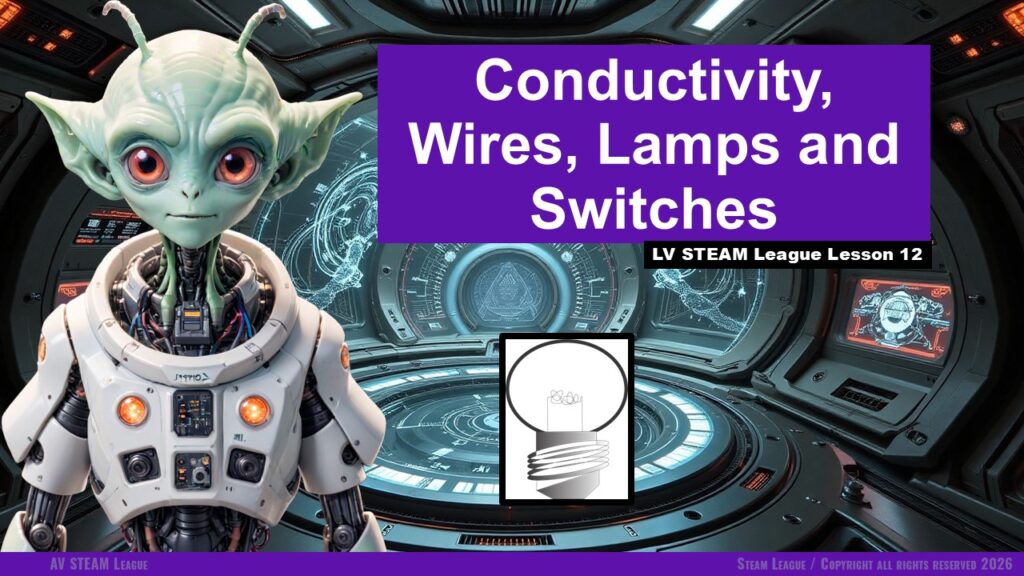
In this lesson students explore several important elements of simple electrical circuits. They learn what lamps do, how switches control the flow of electricity, and how conductive and nonconductive materials behave inside a circuit. Students work with real components including a battery box, lamp, alligator clips, and a switch to see firsthand how circuits open, close, and change paths.
Lesson 13 – Breadboards
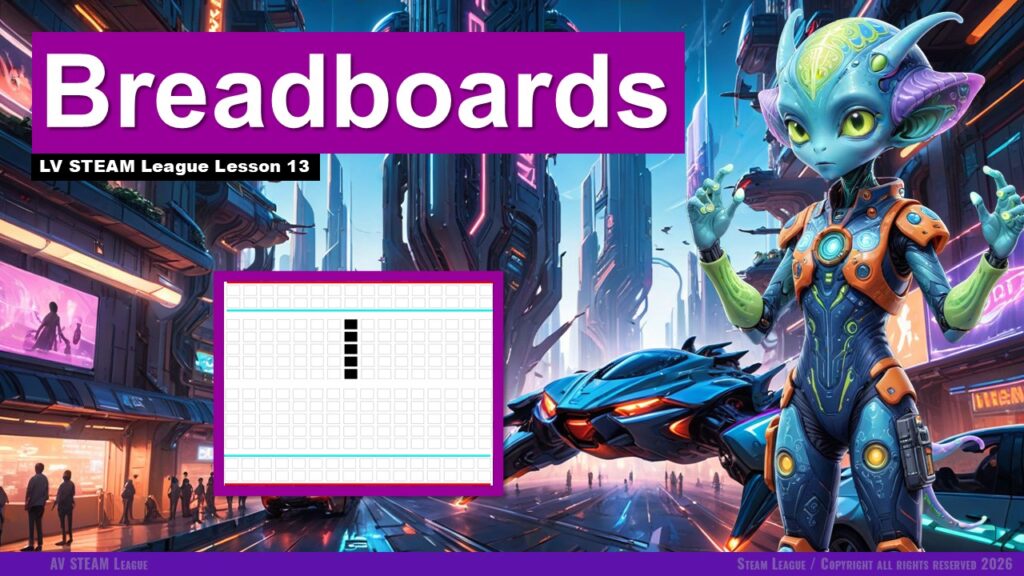
In this lesson students are introduced to breadboards, one of the most important tools used in electronics and engineering. They learn that a breadboard allows them to build, test, and change circuits quickly without soldering. Students explore terminal strips, power busses, jumper wires, resistors, LEDs, and a push button switch. By the end of the lesson, students not only understand how a breadboard is organized but also feel confident creating simple circuits from a diagram.
Lesson 14: Light Organ

In this lesson students build a simple “Light Organ” using LEDs, switches, resistors, and a breadboard. The goal is to help them see how multiple circuits can live side by side on the same board, each with its own switch and LED. Students learn that LEDs only work in one direction, that resistors protect delicate components, and that careful wiring allows them to create patterns of light.
Lesson 15: Potentiometers: Variable Resistors

In this lesson students explore potentiometers, a special kind of resistor that allows us to control how much electricity flows through a circuit by simply turning a knob. Students begin by reviewing what resistors do, then learn how potentiometers add flexibility by offering a smooth range of control. They practice reading the three potentiometer pins, wiring it correctly on a breadboard, measuring its output with a multimeter, and finally controlling the brightness of an LED.
Lesson 16: Light-Dependent Resistors
In this lesson students explore photoresistors, also called light-dependent resistors (LDRs). These special resistors change their resistance based on the amount of light in the environment. Students learn that a photoresistor is still a passive component, but unlike a regular resistor with a fixed value, its resistance varies as light increases or decreases. Students build a simple monitored circuit on a breadboard, use a multimeter to track voltage changes, and test light levels around the room.
Lesson 17: Soldering Equipment
In this lesson students learn about the different types of soldering tools they may encounter and how to choose the right iron and materials for a specific job. The goal is simply to build comfort and understanding before they ever pick up a powered iron. Students explore pencil irons, soldering stations, cordless irons, cold-heat irons, and soldering guns. They also learn about tip shapes, solder types, flux, and helpful accessories like stands, brass cleaners, and helping hands. The tone stays calm and welcoming so that students feel informed rather than intimidated.
Lesson 18: Soldering Wires

In this lesson students learn how to solder wires safely and confidently. Soldering is a core maker skill because it allows us to create strong, reliable electrical connections that won’t fall apart when a circuit is handled or moved. Students review essential shop safety rules, learn how a soldering iron works, practice tinning the iron and wires, and make their first soldered wire connection. The tone stays warm and supportive, helping students feel calm, respected, and safe while learning a tool that can feel intimidating at first.
Lesson 19: Solder Board Level
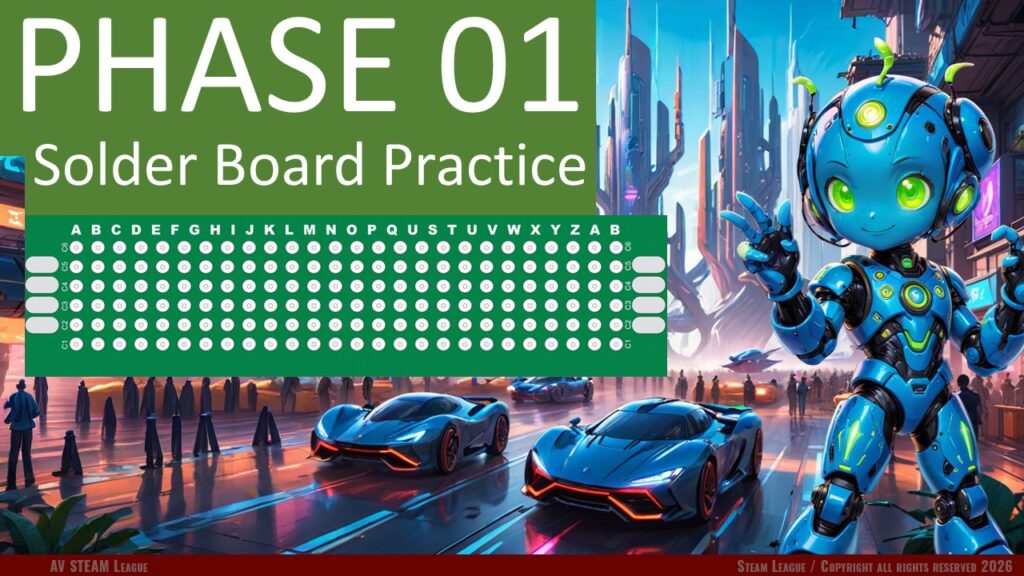
In this lesson students learn how to solder components onto a universal printed circuit board (PCB). They build on their earlier wire-soldering experience and discover how PCBs create permanent, durable circuits using copper pads and through-holes. Students practice bending component leads, fitting parts into correct positions, tinning the iron, applying heat properly, and trimming leads.