
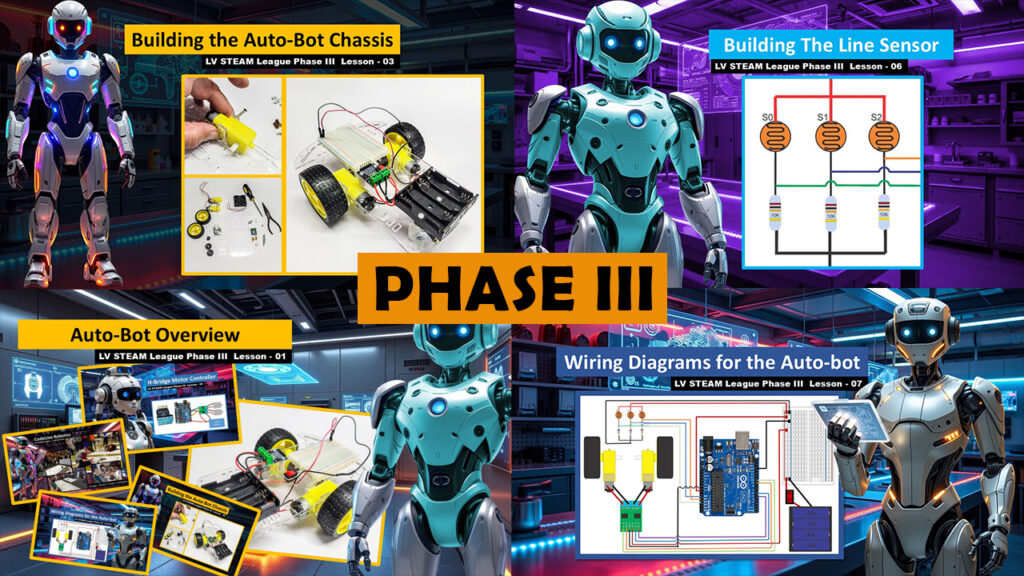
Phase III is where everything students learned in earlier phases finally comes together. After exploring basic robotics ideas in Phase I and building confidence with coding and simple electronics in Phase II, students now step into the full creative process of designing, wiring, and programming an autonomous robot. They learn how motors, sensors, and microcontrollers work as one system, and they experience the joy of watching something they built come alive on the track. This phase is a bridge between guided exploration and true engineering, giving students a deep sense of ownership and accomplishment.
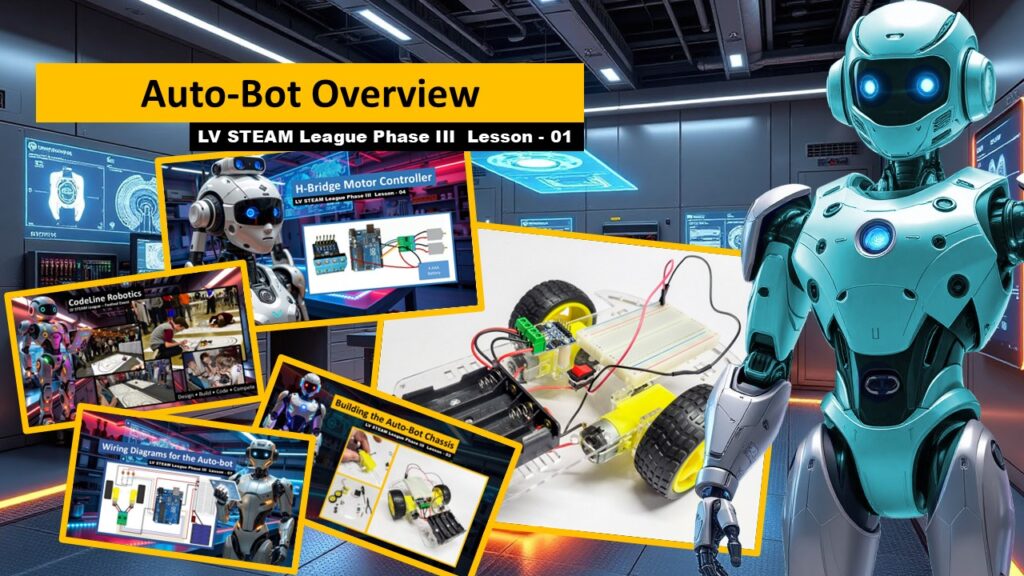
Lesson 03-01 – Phase Overview
Students are introduced to the full journey ahead. They see each major milestone of the build and begin to understand how mechanical design, electronics, sensors, and code will eventually fit together to create a working autonomous robot.
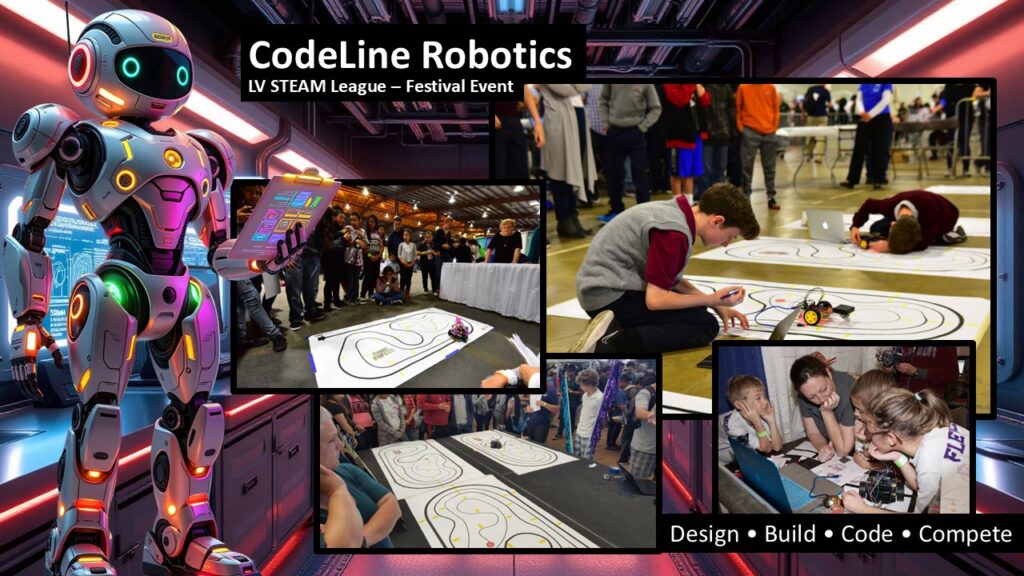
Lesson 03-02 – Codeline Robotics Festival
This lesson frames the purpose behind the build. Teachers learn how the Festival challenge works, what students will be preparing for, and how the event encourages teamwork, problem solving, and real engineering thinking.
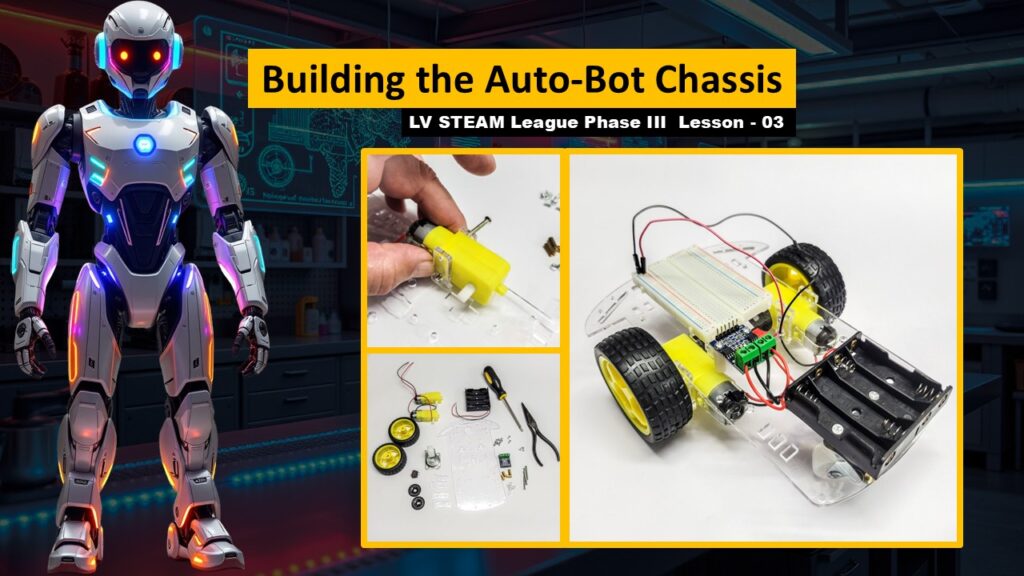
Lesson 03-03 – Building the Auto-Bot Chassis
Students assemble the physical robot body, learning how motors, wheels, brackets, and structural components come together. This is a hands-on mechanical build that gives them a foundation for all later wiring and programming..
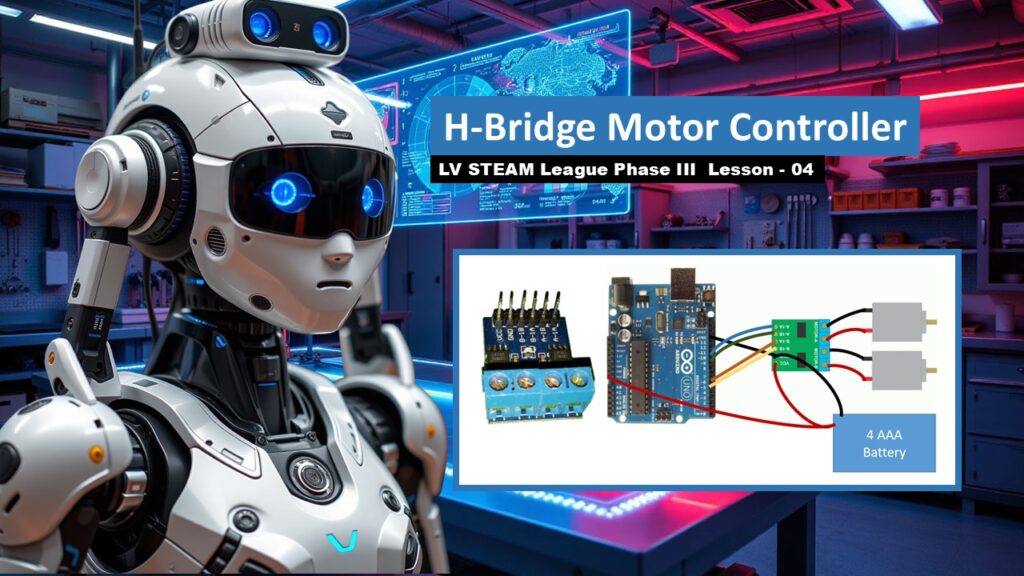
Lesson 03-04 – H-Bridge Motor Controller
Students discover how robots move. They explore the H-bridge, a small but powerful circuit that lets a robot drive forward, backward, and at different speeds. This lesson builds the connection between electronics and motion.
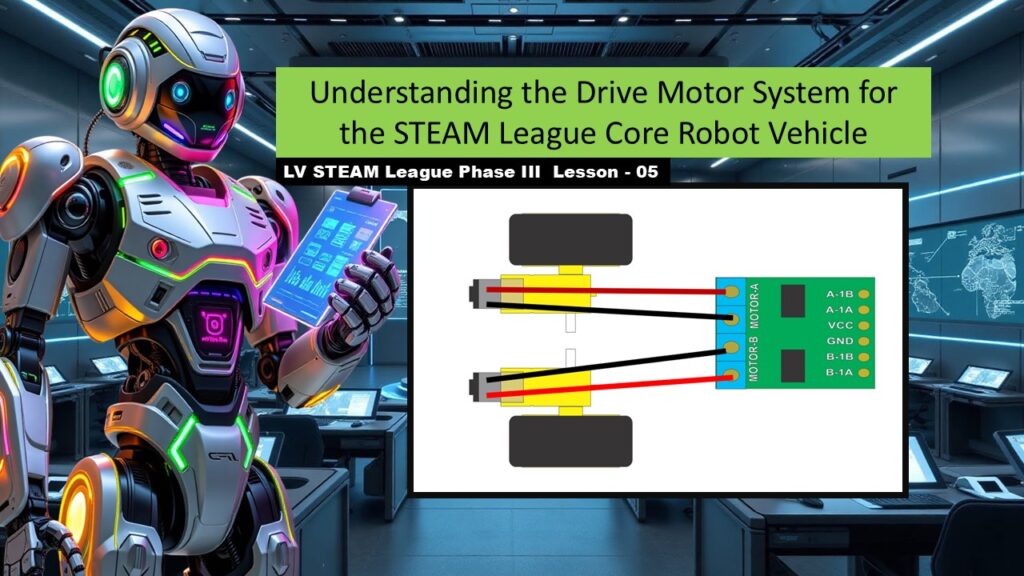
Lesson 03-05 – Making It Roll
Here students learn what really makes a robot drive smoothly. They explore torque, gearboxes, motor direction, and how simple electrical signals turn into controlled movement. This lesson strengthens their understanding of how machines behave.
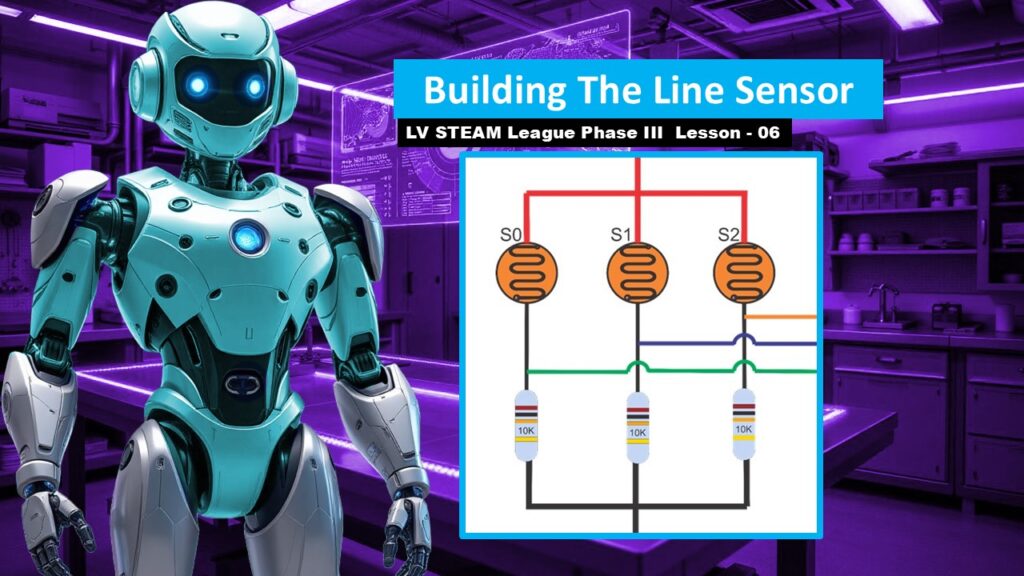
Lesson 03-06 – Building the Line Sensor Array
Students construct the sensor bar that allows the robot to “see” the track. They learn how photoresistors detect light and dark surfaces and how a simple circuit becomes the robot’s eyes during the challenge..
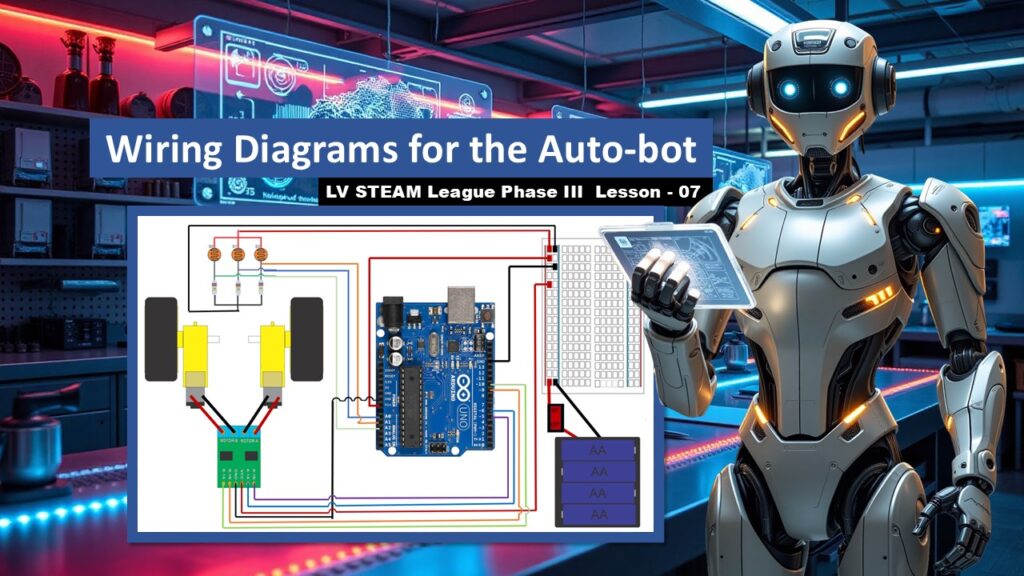
Lesson 03-07 – Wiring the Auto-Bot
This is where the robot becomes a complete system. Students connect the power switch, motors, H-bridge, sensors, breadboard, and Arduino. By the end of this lesson, the robot’s entire electronic structure is in place.
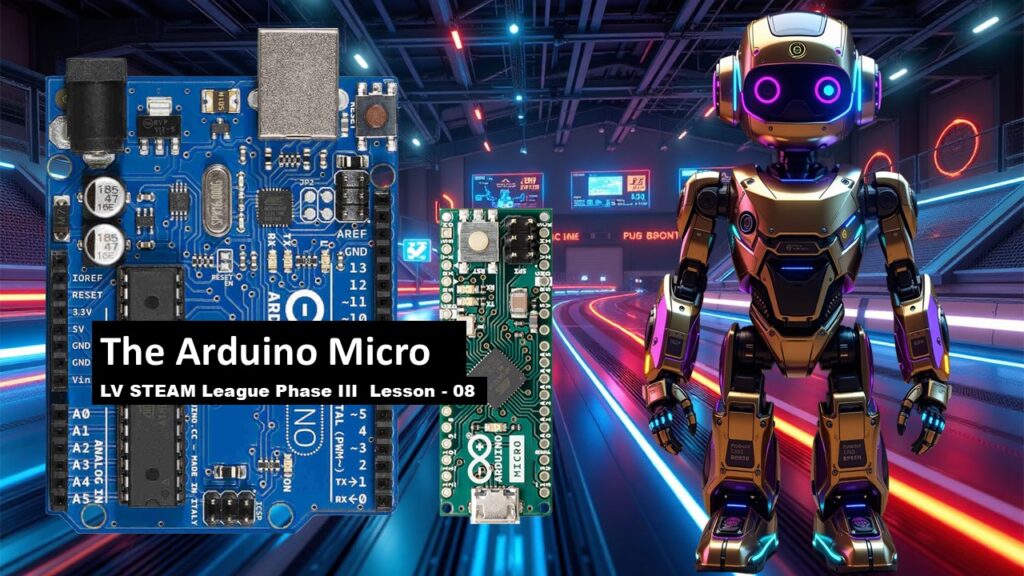
Lesson 03-08 – The Arduino Micro
Students get familiar with the microcontroller that will run their robot. They learn how the Arduino Micro compares to the Arduino Uno and how its pins and features allow them to read sensors and control motors..
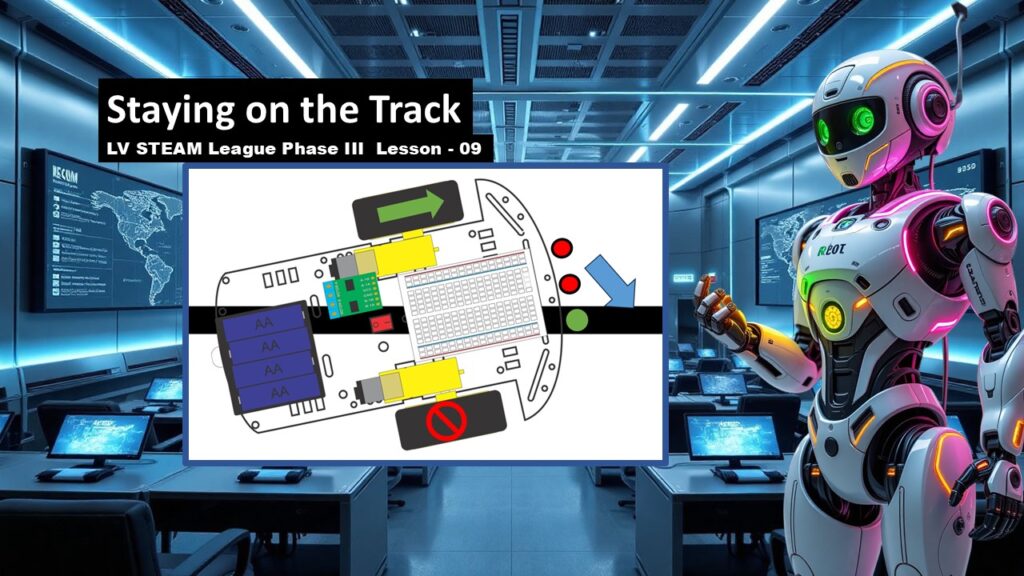
Lesson 03-09 – Staying on the Track
This final lesson brings everything together. Students use sensor readings, logic, and motor control to program the robot to follow a line on its own. They combine all of their mechanical, electrical, and coding knowledge to create a fully functioning autonomous Auto-Bot