
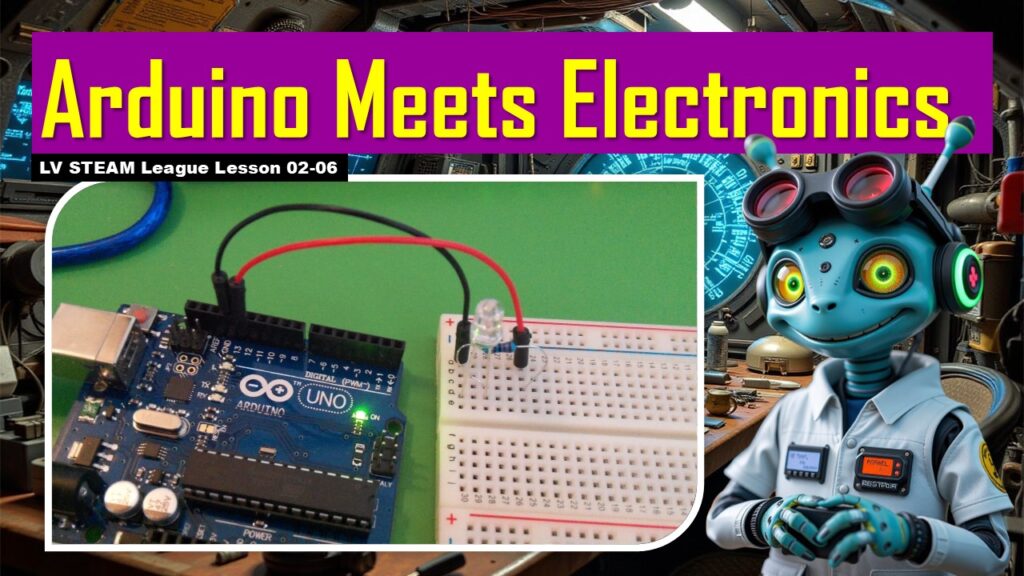
In this lesson students connect the Blink code they already learned with a real physical circuit on a breadboard. They discover how power flows, why LEDs light up, and how resistors protect components. Students also take their first step in modifying a working program by changing the pin number and wiring their circuit to match.
The purpose of this lesson is to build confidence with hands on electronics and show students that they can combine coding with real hardware in a safe, controlled, and joyful way.
Student Learning Goals
By the end of this lesson students will be able to
• Understand what a breadboard is and why it is used
• Properly identify the positive and negative sides of an LED
• Explain what a resistor does in a circuit
• Build a simple LED circuit using the Arduino
• Connect code and wiring together by matching the LED pin to the correct output pin
• Modify the Blink code to use a different digital pin
• Upload and test their modified program
• Feel comfortable experimenting with wiring and code
Materials Needed
Arduino Uno boards
USB cables
Breadboards
Resistors (220 or 330 ohm)
LEDs
Jumper wires
Computers with Arduino IDE
Nonmetal table surfaces or protective mats
Student notebooks
Teacher Preparation Notes
Before class, build a sample LED circuit using pin 13 and verify that it works.
Make sure your jumper wires and LEDs are organized by color or type to reduce confusion.
Review how breadboard rows and columns connect internally so you can explain it simply.
Move slowly during wiring. This is often the first time students handle components.
The tone should be warm, steady, and reassuring. Students may worry about breaking something, so remind them that mistakes are part of the process and easily fixed.
Safety Notes
Never build or rest an Arduino circuit directly on metal surfaces.
Keep liquids far from the workspace.
Always unplug the Arduino when changing wiring.
Handle LEDs gently to avoid bending the legs too much.
Double check orientation before powering the circuit.
Warm Up Activity
Hold up a breadboard and ask
What do you think this is used for
Let students guess. Then explain gently
A breadboard is a safe little playground for circuits.
It lets us build and test ideas without soldering.
Pass one around and let them touch it before starting.
Lesson Flow
**Step One
Meet the Components**
Show the slide with Arduino, USB cable, breadboard, wires, resistor, and LED.
Introduce each item
Arduino is the brain
Breadboard is the testing space
LED is the light
Resistor protects the LED
Wires connect everything
Teacher note
Students often feel nervous touching electronics. Encourage them to hold each item and see that it’s safe.
**Step Two
Breadboard Basics**
Show the breadboard slide.
Explain in friendly language that the holes in each row are connected underneath.
Let students place a couple of jumper wires to explore how the connections feel.
**Step Three
Understanding the LED**
Show the slide explaining LED polarity.
Explain
The long leg is positive
Power only flows one direction
If you flip it, it will not break, it just won’t work
Teacher reassurance
LEDs are pretty tough. Students should feel safe experimenting.
**Step Four
Understanding the Resistor**
Show the resistor slide.
Explain
A resistor slows down the flow of electricity
It protects the LED from too much power
Keep this gentle. No equations needed. Just the big idea.
**Step Five
Review the Blink Code**
Show the Blink program again.
Remind students what each line does
variable
setup
loop
pinMode
digitalWrite
delay
Explain that today the LED will not just blink on the Arduino board. It will blink on the breadboard circuit they build.
**Step Six
Build the Circuit (Pin 13)**
Guide students step by step
- Unplug the Arduino
- Place the LED in the breadboard
- Place the resistor in series with the LED
- Connect ground (GND) from Arduino to breadboard
- Connect pin 13 to the positive side of the LED
Move slowly and check everyone’s wiring.
Teacher note
The key is matching the code (led = 13) with the wiring (pin 13).
**Step Seven
Upload Blink**
Once all wiring is checked, have students upload the Blink program.
Watch the breadboard LED turn on and off.
Celebrate this moment.
Students just made physical electronics respond to their code.
**Step Eight
Make a Change: Pick a New Pin**
Show the slide asking students to pick a number between 2 and 12.
Explain
Whatever pin they choose, they must
• change the code
• change the wiring
Guide them through updating
int led = 13;
to
int led = chosenPin;
Teacher note
Have students say their pin out loud so you can help them stay consistent.
**Step Nine
Rebuild and Reupload**
Students rewire their LED to the new pin.
Then upload the updated code.
Watch for errors such as
wrong pin selected
loose jumper wire
LED flipped backwards
Provide lots of gentle reassurance
Every mistake teaches you something.
Teacher Notes for Each Slide
Breadboard slide
Keep your explanation visual. Students learn best by touching it.
LED polarity slide
Have them physically compare long and short legs.
Resistor slide
Remind them that it protects the LED from too much electricity.
Pin 13 Blink slide
Use this to connect previous knowledge.
“Pick a number from 2 to 12” slide
This is a great creativity moment.
Independent or Group Activity
Option A: Creative Blink Pattern
Have students experiment with delays to create rhythmic blinks.
Option B: Change LED Color
If you have multiple LED colors, let students swap them out and observe changes.
Option C: Build a Partner Circuit
One student writes the code.
One student wires the circuit.
Then they swap roles.
Vocabulary and Concepts
Breadboard
A reusable base for building circuits without soldering.
LED
A tiny light that requires the correct direction and a resistor.
Resistor
A component that limits electrical current.
Pin
A connection point where the Arduino sends or receives signals.
Variable
A container that stores information, such as the pin number.
Wrap Up
Ask students
What was challenging about wiring the circuit
What was exciting about seeing your LED blink
Which pin did you choose and why
Celebrate their work and remind them that electronics and coding become easier every time they practice.
Exit Ticket
One
Why do we need a resistor with an LED
Two
What did you change in the code to use a different pin
Quiz
1. Multiple Choice
What does a breadboard allow you to do
Cook bread
Build circuits without soldering
Control your Arduino wirelessly
2. Short Answer
Why does the LED have a long leg and a short leg
3. Multiple Choice
If int led = 7, which pin should your LED connect to
Pin 13
Pin 7
Pin 0
4. Short Answer
What does delay(1000) do
5. Short Answer
Name one reason your LED might not blink.
Teacher Reflection
Did students feel more confident working with real components
Where did they hesitate in wiring
Did the pin change activity help them understand variables
Should we slow down the breadboard explanation next time