
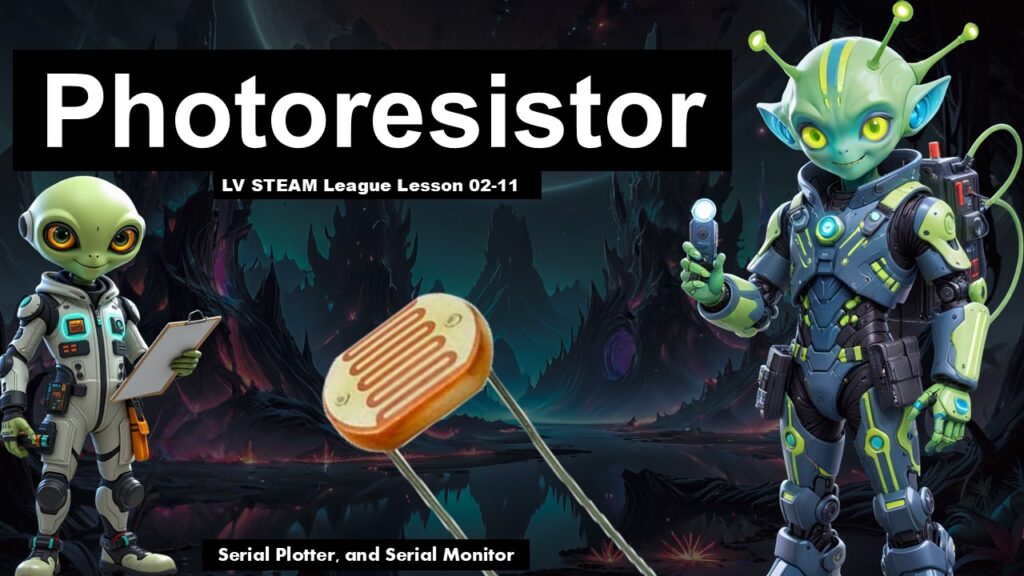
In this lesson students explore how an Arduino can sense light using a photoresistor. This is their second major analog input (after potentiometers), and it introduces the idea that sensors can measure the world around them.
Students wire a simple photoresistor circuit, read live data from pin A0 using the Serial Monitor, and then visualize that data as a moving graph using the Serial Plotter. The goal is to make sensing feel exciting and accessible, not mathematical or intimidating.
Students leave with a clear understanding that
• The Arduino can “see” light levels
• analogRead converts voltages into numbers
• Sensors help us understand the world
• Data can be read as text or as a graph
Student Learning Goals
By the end of this lesson students will be able to
• Identify a photoresistor and understand how it reacts to light
• Wire a photoresistor circuit with a fixed resistor
• Understand that photoresistors change resistance based on light
• Use Serial.begin() to communicate with the computer
• Use Serial.println() to print values from A0
• Read analog values in the Serial Monitor
• Visualize changing light input in the Serial Plotter
• Describe how light intensity changes the readings
Materials Needed
Arduino Uno boards
USB cables
Breadboards
Photoresistors (LDRs)
10k resistors
Jumper wires
Computers with Arduino IDE
A flashlight or phone light
Student notebooks
Teacher Preparation Notes
Before class
Wire your own sample circuit so you can model it clearly.
Test Serial Monitor and Serial Plotter on your device.
Some students may be nervous when they see “random numbers.”
Reassure them that it’s completely normal — sensors are live data.
Make sure tables are not reflective or overly bright, as this can affect readings.
Safety Notes
Unplug the Arduino before wiring.
Photoresistors can be placed in either direction — no polarity stress needed.
Avoid shining extremely bright lights into students’ eyes during testing.
Warm Up Activity
Ask students
What kinds of devices sense light
Let them name phones, nightlights, automatic street lamps, smart watches, etc.
Explain
Today we are learning the sensor that makes those things possible.
Lesson Flow
**Step One
Meet the Photoresistor**
Show the PPT explanation of photoresistors.
Explain gently
A photoresistor is a light-sensitive resistor.
More light → less resistance
Less light → more resistance
Unlike LEDs, both legs are the same length — no positive or negative side.
**Step Two
Review the Resistor**
Show the resistor slide.
Remind students
The fixed resistor works with the photoresistor to create a stable voltage divider.
We’re not memorizing theory — we’re building intuition.
**Step Three
Wire the Circuit**
Using the wiring diagram shown in the PPT
Guide students slowly
• 5V → one side of the photoresistor
• Other side of the photoresistor → A0
• A0 → 10k resistor → GND
Teacher reassurance
This is just a simple path for electricity to take
We’re letting the Arduino “listen” from the middle point.
Walk the room and help students catch loose connections.
**Step Four
Open the IDE and Prepare the Code**
Have students type the setup code
void setup() {
    Serial.begin(9600);
}
void loop() {
}
Explain
Serial.begin(9600) opens communication between the Arduino and the computer.
**Step Five
Print the Light Values**
Add the line from the PPT
Serial.println( analogRead(A0) );
Explain
println means “print a line of text.”
Each reading appears on its own line.
Students now have live sensor data.
**Step Six
Slow Down the Stream**
Add the delay
delay(250);
Explain
This pauses ¼ of a second between readings so the text is readable.
**Step Seven
Upload and Open Serial Monitor**
Have students upload their code.
Then click the Serial Monitor icon.
Troubleshooting slide:
If the Serial Monitor shows “random symbols,”
Make sure the baud rate matches 9600.
Now ask students
Cover the sensor
Shine light on it
What happens to the numbers
Let them explore.
**Step Eight
Open the Serial Plotter**
Have students click Serial Plotter.
Explain
This turns your readings into a moving line graph.
Watch how the graph rises and falls with light changes.
Give them a few minutes to experiment.
**Step Nine
Discuss the Results**
Ask
What did you notice when you covered the sensor
How did the graph respond
What surprised you
Highlight
Sensors let machines observe the world — this is how robots “see.”
Teacher Notes for Each Slide
Photoresistor description
Use simple language — “more light = smaller resistance.”
Resistor reminder
Celebrate familiarity and confidence.
Diagram showing 5V, GND, A0
Pause at each wiring step so students stay calm.
Serial.begin slide
Stress matching capitalization exactly.
Serial.println slide
Explain “ln means new line.”
Serial Monitor settings slide
Show how to match baud rates.
Serial Plotter slide
Let curiosity drive exploration.
Independent or Group Activity
Option A: Light Investigation
Students test readings under different conditions
• Flashlight
• Shadows
• Bright window
• Under the desk
They record the values.
Option B: Make a “Light Alarm” Idea Sketch
Students design a device concept using a photoresistor (night light, solar tracker, security alarm).
Option C: Sensor Race
Teams try to create the fastest up-and-down changes using hands, paper, or light sources.
Vocabulary and Concepts
Photoresistor (LDR)
A resistor whose value changes with light.
Analog Input
A smooth range of values, not just ON/OFF.
Serial Monitor
Shows data as text.
Serial Plotter
Shows data as a graph over time.
analogRead()
Reads voltage (0–5V) and returns a number from 0–1023.
Wrap Up
Ask
What did your sensor readings look like
How did the values change when you covered or uncovered the sensor
What kind of project could you build that reacts to light
Celebrate their success in working with real sensor data.
Exit Ticket
One
What number range does analogRead(A0) return
Two
How did the reading change when you covered the photoresistor
Quiz
1. Multiple Choice
A photoresistor reacts to
A. Temperature
B. Light
C. Sound
2. Short Answer
What does Serial.begin(9600) do
3. Multiple Choice
Which tool shows a graph of your sensor data
A. Serial Monitor
B. Serial Plotter
C. Output Window
4. Short Answer
What happens to resistance when light increases
5. Short Answer
Why is analogRead useful
Teacher Reflection
Did students understand the idea of changing light values
Were they comfortable reading the Serial Monitor
Did the Serial Plotter help them visualize data
Should next time include a physical project using light levels