
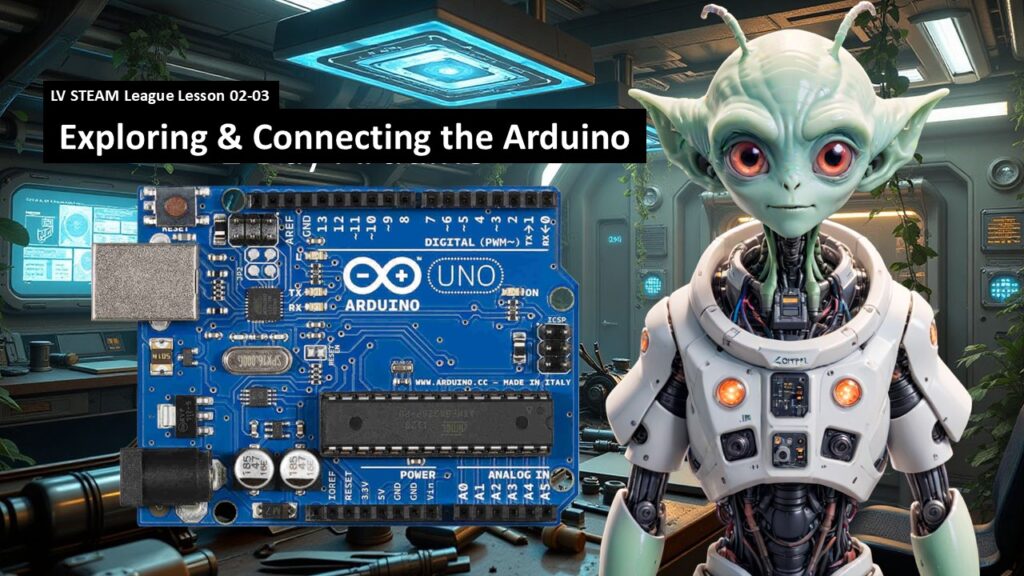
This lesson helps students take their very first real step into physical computing by exploring the Arduino Uno board and learning how to safely connect it to the computer. Students will discover the different pins and parts of the board, understand the difference between analog and digital signals, and complete their first simple upload: the Blink example.
Everything in this lesson is hands on. Students build confidence as they plug in the board, watch the LEDs respond, and see the magic of code traveling from their computer into a real piece of hardware.
Student Learning Goals
By the end of this lesson students will be able to
• Identify the main parts of the Arduino Uno
• Understand the difference between analog and digital signals
• Safely handle and connect an Arduino
• Open the Arduino IDE and load the Blink example
• Upload code to the board and watch the LED flash
• Build confidence in connecting hardware and software together
Materials Needed
Arduino Uno boards (one per student or per pair)
USB cables
Computers with the Arduino IDE installed
Nonmetal table surfaces or protective mats
Printed diagrams of the Arduino Uno (optional)
Notebook for drawing or labeling parts
Teacher Preparation Notes
Please check that all USB cables and boards are working before class.
Have the IDE open on your computer so you can demonstrate each step.
Lay out protective mats if the classroom tables are metal or conductive.
Review the Blink example so you can explain it comfortably.
This is a very hands on lesson. Move slowly. Celebrate each small success.
Safety Notes
Never place the Arduino on a metal surface without a protective mat.
Keep all drinks away from the workspace.
Look before you set the board down.
Even though the voltage is low for humans, the board can be damaged easily by moisture or conductive surfaces.
Warm Up Activity
Hold up an Arduino and ask
What do you notice about this little board
Let students point out buttons, the USB port, the glowing LED, or the pins.
Then ask
What do you think happens when the computer sends code into this board
Their guesses will naturally lead into today’s exploration.
Lesson Flow
**Step One
Meet the Arduino Uno**
Show the slide that labels each part of the board.
Explain what each piece does in simple language
Reset button
USB port
Power jack
Power pins
Analog inputs
Digital inputs
Transmit and receive LEDs
Teacher note
Make this feel like exploring a treasure map rather than memorizing parts.
**Step Two
Analog vs Digital Signals**
Use the slides describing analog and digital signals.
Explain that
Analog is smooth and continuous
Digital is more like on and off steps
Relate these to real life
Analog is like your voice
Digital is like flipping a light switch
Reassure students that they do not need to master this yet.
They only need a friendly mental picture.
**Step Three
Special Pins and Signals**
Show students
Serial pins (0 and 1)
PWM pins
ICSP connectors
Explain gently that these are tools they will learn later.
All they need to know right now is
Different pins do different jobs
Each one helps the Arduino talk, sense, or act
**Step Four
Important Safety Reminder**
Show the slide about metal tabletops.
Explain that the bottom of the Arduino has exposed metal pins that will short out if placed on metal or wet surfaces.
Demonstrate placing it gently on the mat.
Teacher note
Reassure nervous students that they are safe.
The risk is to the board, not their fingers.
**Step Five
Let’s Connect the Arduino**
Guide students to plug the USB cable into the board, then into their computer.
Point out the power LED turning on.
Help them notice the TX and RX LEDs blinking as the board communicates.
Teacher note
This is a big moment for students.
Celebrate the lights.
**Step Six
Open the Arduino IDE**
Tell students to open the software.
Walk them through
File
Examples
Basics
Blink
Explain that they are loading a tiny program that blinks the board’s built in LED.
**Step Seven
Check the Board and Port**
Show the slide labeled Check for your board.
Explain how to select
Tools
Board
Arduino Uno
Then
Tools
Port
Teacher note
Some computers show multiple ports. Help students find the correct one.
**Step Eight
Upload the Blink Program**
Guide them to click Upload.
Have them watch the TX and RX LEDs flash.
When they see “Upload Done,” celebrate.
Then show the blinking LED on the board.
Tell them
You just sent code into real hardware. That is a huge step.
**Step Nine
Unplug the Arduino**
Follow the final slide.
Ask students to carefully unplug their board and place it somewhere safe for the next lesson.
Teacher Notes for Each Slide
Arduino labeled diagram
Keep it simple. Let students touch and inspect their boards.
Analog vs digital slides
Use very gentle everyday examples. Avoid deep technical explanations.
Serial and PWM pins
Simply introduce the idea that different pins do different things.
Safety warning slide
Stress protecting the board, not fear of electricity.
Let’s get connected slide
Guide slowly. Watch every student plug in safely.
Blink example
Celebrate the blinking LED. This moment builds confidence.
Upload done slide
Reinforce that they successfully completed their first upload.
Independent or Group Activity
Give students a printed outline or blank drawing of an Arduino. Ask them to label
Power LED
USB port
Digital pins
Analog pins
Pin 13 LED
Then ask them to write one sentence
What did it feel like to upload your first program
Vocabulary and Concepts
Arduino Uno
A small microcontroller board that acts like a tiny computer brain.
Analog signal
A smooth continuous value like volume or temperature.
Digital signal
A signal that is on or off like a light switch.
PWM
A way for the Arduino to pretend to output different levels of power.
Upload
Sending your code from the IDE into the Arduino.
Wrap Up
Ask students
What part of connecting the Arduino surprised you
What was it like to see the LED blink
What do you think we will make the Arduino do next
Let them feel proud of taking a real step into electronics.
Exit Ticket
One
What is one part of the Arduino you remember
Two
What did uploading Blink make the board do
Quiz
1. Multiple Choice
What happens when you plug in the Arduino
It heats up
The power LED turns on
The board starts WiFi
2. Short Answer
What is the difference between analog and digital signals
3. Multiple Choice
Which pin controls the built in LED
Pin 13
Pin 2
Pin A0
4. Short Answer
Why should you never place the Arduino on a metal surface
5. Short Answer
What did you upload during this lesson
Teacher Reflection
Did students handle the hardware confidently
Were safety reminders clear
Did most students succeed with the Blink upload
Should pacing be slower or faster next time