
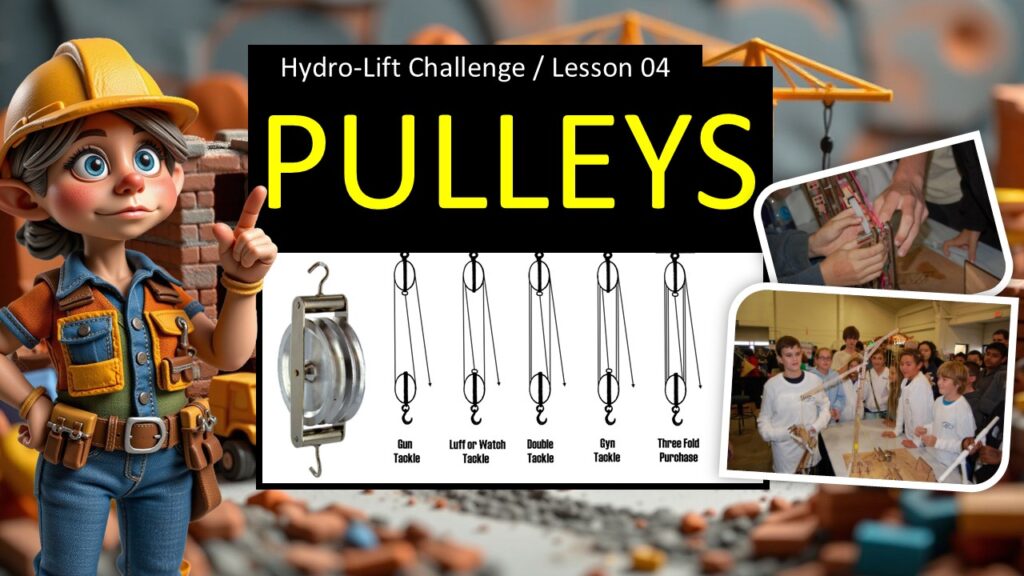
This lesson introduces students to pulleys, how they work, and why they can multiply lifting power. Students learn how pulleys change direction, reduce effort, and create mechanical advantage. They also begin to understand why pulleys are one of the most important tools in the Hydro-Lift Challenge.
Goals for the Lesson
By the end of this lesson, students will:
• Understand what a pulley is
• See how single pulleys change direction
• Understand how multiple pulleys reduce effort
• Recognize what a block-and-tackle system is
• Begin imagining how pulleys might help their own lift design
Materials Needed
• Pulleys PPT (Lesson 04)
• A length of string (optional)
• A lightweight object for demonstration (optional)
Lesson Timing
Total: 25–30 minutes
• Warm Start: 2 minutes
• What Pulleys Do: 5 minutes
• Single Fixed Pulleys: 5 minutes
• Movable Pulleys: 5 minutes
• Block and Tackle: 5–10 minutes
• Close: 2 minutes
Lesson Flow
1. Warm Start
Direction: Show the title slide.
Teacher Speaking Points:
“Today we’re going to explore pulleys. Pulleys help us lift heavy things with less effort. Once you understand how they work, you’ll see why they’re so important in the Hydro-Lift Challenge.”
2. What Pulleys Do
Direction: Show the basic definition slide.
Teacher Speaking Points:
“A pulley is a simple machine that uses a wheel and a rope or string to help you lift. Pulleys can change the direction of your pull or reduce how much effort you need.”
3. Single Fixed Pulley
Direction: Show the slide with the single fixed pulley.
Teacher Speaking Points:
“A single fixed pulley changes the direction of your force. You pull down, and the object goes up. The effort doesn’t get easier, but the direction becomes more convenient.”
4. Movable Pulleys
Direction: Show the slide with movable pulleys.
Teacher Speaking Points:
“A movable pulley actually reduces the amount of effort you need. The pulley itself moves with the load, and the rope shares the work between two sections of line. That cuts the effort in half.”
5. Mechanical Advantage With Pulleys
Direction: Show mechanical advantage slides.
Teacher Speaking Points:
“When you add more pulleys, you increase mechanical advantage. That means less effort is needed to lift the same load. The more rope sections holding the load, the easier the lift becomes.”
6. Block and Tackle
Direction: Show the block-and-tackle slide.
Teacher Speaking Points:
“A block-and-tackle system uses multiple pulleys together. These systems can lift very heavy objects with surprisingly little effort. Ships, cranes, theaters, and rescue equipment all use block and tackle.”
7. Counting Advantage
Direction: Show the example of counting rope segments.
Teacher Speaking Points:
“To figure out how much a pulley system helps you, count how many ropes are directly supporting the load. That number equals your mechanical advantage. More ropes, less effort.”
8. Why Pulleys Matter for Hydro-Lift
Direction: Connect to the challenge.
Teacher Speaking Points:
“In the Hydro-Lift Challenge, pulleys can help you multiply the force from your hydraulics. With a good pulley setup, even a small piston can lift something much heavier or much higher.”
9. Quick Reflection
Direction: Invite simple brainstorm.
Teacher Speaking Points:
“Think for a moment about your future lift. Where might pulleys help you? Could they multiply your lifting force? Could they change the direction of your motion? Keep the idea in mind.”
10. Close
Direction: End the lesson with encouragement.
Teacher Speaking Points:
“You now understand how pulleys multiply force and make lifting easier. In our next lesson, we’ll explore wheels, wedges, screws, and inclined planes — the rest of the simple machines that complete your engineering toolbox.”