
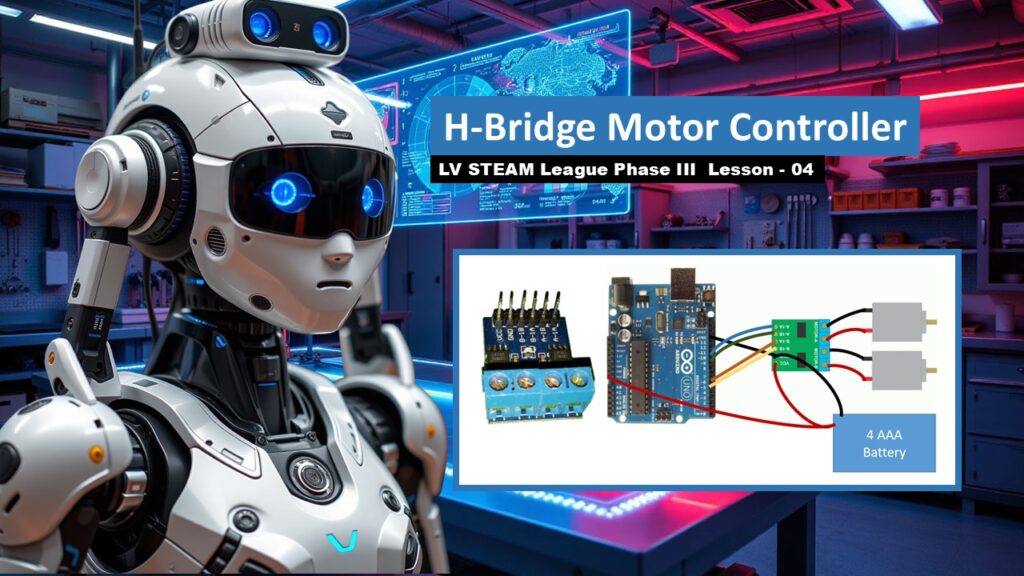
In this lesson, students discover the small but powerful circuit that brings their robot to life. The H-bridge is the heart of motor control, allowing the Auto-Bot to move forward, backward, and at different speeds. Students explore how electricity flows through the circuit, how transistors act like valves, and how the Arduino uses PWM signals to shape real mechanical motion. By the end, students understand that driving a robot isn’t magic. It’s simply learning how to speak the motor’s language.
Student Learning Goals
By the end of this lesson students will be able to
• Explain what an H-bridge is and why robots need it
• Understand how transistors control the flow of electricity
• Identify VCC, ground, motor outputs, and direction pins on an H-bridge
• Describe how PWM controls motor speed
• Upload simple Arduino code that turns a motor forward and backward
Materials Needed
Breadboard
H-bridge motor controller
DC motors (from the chassis)
4 AAA battery pack
Battery clip
4 jumper wires
2 alligator wires (optional for demonstration)
Arduino and USB cable
Teacher Preparation Notes
This lesson introduces heavier vocabulary, so take it slowly. Students don’t need to master every term today. Focus on helping them understand the big picture: electricity flows in different directions to spin motors different ways.
If possible, prepare a demo where one motor is connected to an H-bridge. Hearing and seeing the motor respond builds confidence and excitement.
Reassure students that coding today is simple and mostly copy-and-paste. The trial and error they’ll do later comes after wiring is complete.
Safety Notes
Never power motors directly from the Arduino
Always use the battery pack for motor power
Keep wires away from spinning motor shafts
Check connections gently before powering anything
Warm Up Activity
Ask students
How does a robot know which way to turn
Let a few students guess. Some may say sensors, others may say wheels.
Today we explain the missing piece: the motor controller that listens to the Arduino.
Lesson Flow
Step One – What an H-Bridge Does
Introduce the H-bridge as a circuit that allows voltage to flow in either direction, which makes a motor spin forward or backward.
Explain that the Auto-Bot uses two motors, so the H-bridge controls both wheels independently. This is what allows steering.
Teacher note
Use gentle language. Students don’t need exact electrical theory, only the concept of direction control.
Step Two – Understanding Transistors
Explain that a transistor is like a water valve
A tiny control signal opens or closes the flow
More flow means faster spinning
Let students imagine turning a faucet just a little for a drip or all the way for full flow. This helps them understand torque and speed.
Step Three – Touring the H-Bridge Pins
Walk through the labeled pins
• VCC = power in
• GND = ground
• A1 and A2 control motor A
• B1 and B2 control motor B
• PWM pins adjust speed
Teacher note
Hold the board up and point to each section. Students don’t need to memorize this yet. Repetition in later lessons will cement it.
Step Four – Why We Use PWM
Explain PWM in simple terms
The Arduino turns power on and off very quickly
The longer it stays “on,” the stronger the motor feels
This is how the robot drives gently or powerfully
Use a metaphor
Imagine tapping someone lightly many times versus pushing steadily.
Step Five – Running Motor Test Code
Show students the basic analogWrite example
Set motor pins to zero
Run one pin at full power
Pause
Run the opposite pin
Teacher note
Let students hear the motor spin. This builds confidence that their future robot parts work.
Step Six – Controlling Both Motors
Introduce the direction control summary
A1 drives the right motor forward
A2 drives it backward
B1 drives the left motor forward
B2 drives it backward
Explain that steering is simply choosing which direction each wheel spins.
Step Seven – Trying Multi-Motor Code
Walk through the provided multichannel example where pins 5, 6, 9, and 10 are all set to zero, then used in combinations to drive the motors forward and backward.
This prepares students for wiring and coding in later lessons.
Teacher Notes for Slides
Slides defining the H-bridge
Highlight the simplicity. Students often fear circuits that look complex.
Slides on VCC, GND, A/B pins
Treat this as a tour, not a quiz. They will understand through repetition.
Slides on PWM and analogWrite
Keep examples short. Students will understand more when they connect and test motors.
Slides with full code examples
Encourage students to copy the structure now. In later lessons they will customize it.
Slides that warn against using Arduino power for motors
Emphasize safety and protecting equipment.
Independent or Group Activity
Students work in pairs to run the sample code on a single motor. They answer
What direction did your motor turn
What happened when you switched the pin values
Small discoveries help build comfort before wiring the robot.
Vocabulary and Concepts
H-Bridge
A circuit that lets motors spin forward or backward.
Transistor
A tiny electronic valve that controls electricity.
PWM
Short bursts of power that change motor speed.
AnalogWrite
A command the Arduino uses to send PWM to a pin.
Direction Pins
Signals that tell a motor which way to spin.
Wrap Up
Ask students
What surprised you about how the motor behaved
Most will say how simple it was to control once the pieces were explained.
Celebrate that moment. It is a major step in understanding robotics.
Exit Ticket
Write one thing the H-bridge allows the robot to do
Write one question you still have about motor control
Quiz
A simple check for understanding
- What does an H-bridge control
- What is VCC
- What does PWM change
- Which command sends PWM to a pin
- Why do we never power motors from the Arduino
Teacher Reflection
Did students understand the idea of direction control
Which analogies helped them most
Did the motor demo increase confidence
Use these insights to guide the next wiring and coding lessons.