
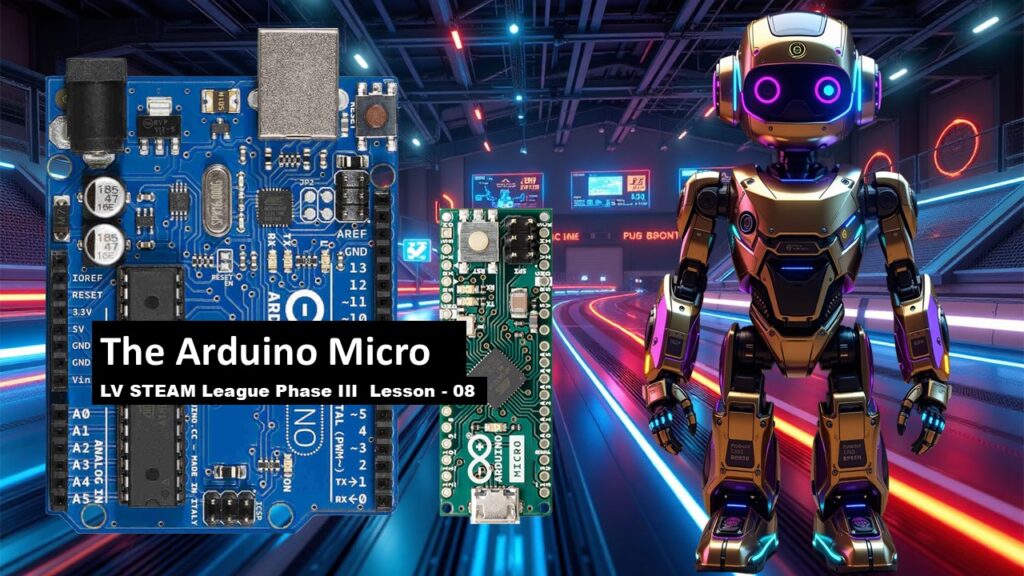
In this lesson, students meet the small but powerful brain of their Auto-Bot: the Arduino Micro. Many students have already worked with the Arduino Uno in earlier phases, so today’s goal is to help them understand how the Micro is similar, how it is different, and how its compact size makes it perfect for a robot. This lesson keeps things simple. Students do not code yet. They just learn where the pins are, what they do, and how to find the ones they will use in the next lesson.
Student Learning Goals
By the end of this lesson students will be able to
• Recognize the Arduino Micro and compare it to the Arduino Uno R3
• Identify key features such as USB port, reset switch, power pins, and analog/digital inputs
• Locate PWM pins used for the robot’s motors
• Understand voltage limits and safe powering of the board
• Build confidence reading pin diagrams and matching them to their real board
Materials Needed
Arduino Micro (one per robot)
USB cable
Printed or projected pin diagram
Auto-Bot chassis (for reference)
Optional: Arduino Uno for side-by-side comparison
Teacher Preparation Notes
The pin diagram on the slide is very technical. Students new to electronics may feel overwhelmed, so keep your language friendly and simple. Focus only on the pins we actually use in this phase. Let students explore the board with their hands while you guide them. This lesson works best as a calm, conversational walkthrough.
If your class used the Arduino Uno in Phases I and II, refer back to that experience. Familiarity reduces anxiety.
Safety Notes
Use gentle handling when plugging in the USB cable
Do not power the board from the battery pack yet
Remind students not to bend the pins
No soldering or tools are needed today
Warm Up Activity
Hold up the Arduino Micro and ask
Why do you think this board is smaller than the Uno we used earlier
Let students guess. This builds curiosity and helps them understand the purpose of a compact microcontroller inside a robot.
Lesson Flow
Step One – Comparing the Uno and the Micro
Explain that both boards can
Run the Arduino IDE
Use the same commands
Read sensors and control motors
The Micro is simply smaller, which makes it perfect for fitting inside the Auto-Bot.
Teacher note
Reassure students that nothing in their coding experience changes.
Step Two – Touring the Arduino Micro
Walk students through each major feature
Reset switch
USB port
Power LED
Transmit and receive LEDs
Voltage-in pin
5V and 3V outputs
Ground pins
Let them point to each part on their own board.
Step Three – Understanding Voltage and Power
Explain the safe voltage range
6–20V max
7–12V recommended
Students don’t need to memorize numbers. They just need to understand why powering the board properly matters.
Step Four – Identifying Digital, Analog, and PWM Pins
Show the areas labeled on the diagram
Digital pins 2–13
Analog pins A0–A5
PWM pins:
• ~5 and ~6
• ~9 and ~10
Teacher note
These PWM pins should look familiar. Students already used them when learning about motor control.
Step Five – Understanding RX/TX and ICSP Pins
Explain in gentle, simple terms
RX/TX are for communication
ICSP is used for advanced programming
Students do not need to interact with these today
This keeps confusion low while still acknowledging their purpose.
Step Six – What Stays the Same Across Boards
Reassure students
Everything they did on the Uno — reading sensors, sending PWM, writing code — works exactly the same on the Micro.
Only the pin layout changes.
This step builds confidence, which is important right before coding resumes in Lesson 09.
Step Seven – Matching the Board to the Robot
Show students how the Micro sits on the Auto-Bot and why its small size matters.
Point out where the sensor wires and motor pins will connect in the next lesson.
Teacher note
Do not wire anything yet. Simply help them visualize what will happen.
Teacher Notes for Slides
Pin diagram slide
Slow down. Students rarely understand diagrams on first sight. Focus only on the sections you will use.
Voltage section
Emphasize safety and reassurance. Students do not need deep theory.
Comparison notes
Help them see the Micro as familiar, not different or scary.
Independent or Group Activity
Have students label a printed diagram with
Power pins
Ground pins
PWM pins
Analog pins
This gives them a simple visual reference they can use during wiring and coding.
Vocabulary and Concepts
Microcontroller
The tiny computer that controls the robot.
PWM pin
A pin that can send fast pulses to control motor speed.
Analog pin
A pin that reads sensor values.
Voltage in
Where the board receives power.
Wrap Up
Ask students
Which part of the Micro feels familiar
Which part feels new
Help them notice how much they already understand.
Exit Ticket
Write one pin you know how to find on the Arduino Micro
Write one question you still have before we start coding
Quiz
- What is the main difference between the Arduino Uno and the Arduino Micro
- What does the USB port do
- Which pins read sensor values
- Which pins control motor speed
- What voltage range is safe for the Micro
Teacher Reflection
Did students seem comfortable switching from the Uno to the Micro
Were they able to identify the key sections of the pin diagram
Would more time with physical boards help future classes
These thoughts will guide preparation for Lesson 09.