
Overview
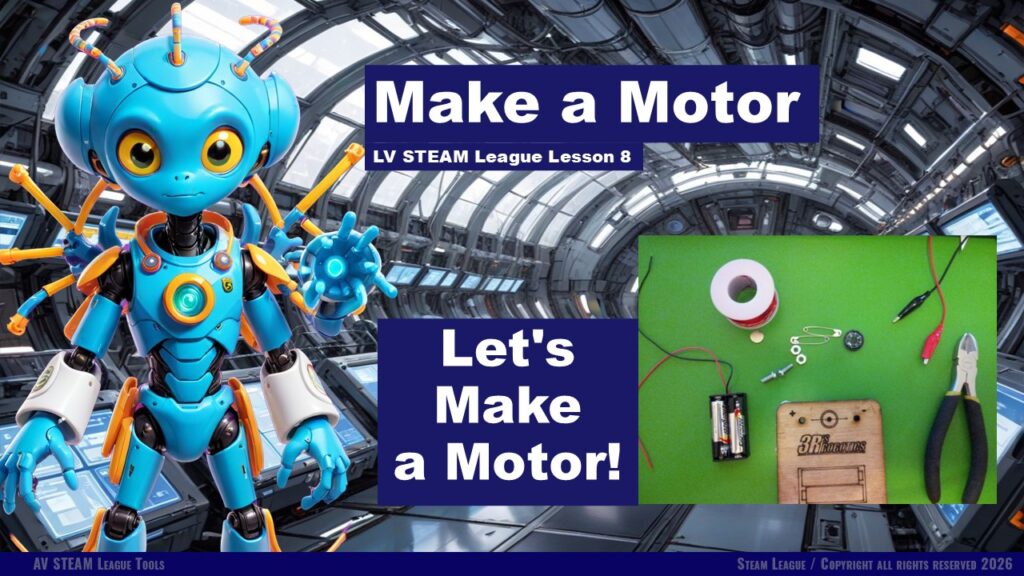
In this lesson students explore how motors work by building a simple DC motor using the LV STEAM League Motor Kit. They discover that a motor is just a generator in reverse. Instead of creating electricity, a motor uses electrical energy to produce motion. Students learn about the different types of motors, examine the shared components (magnets, coils, commutator), and then build their own working motor. The goal is to help students build confidence while working with magnetic fields, coils, and simple electrical connections.
Student Learning Goals
By the end of this lesson students will be able to:
• Identify the main types of motors: DC, stepper, and servo
• Explain how a DC motor converts electrical energy into mechanical motion
• Recognize the shared components of motors and generators
• Assemble a simple DC motor using the STEAM League kit
• Test their coil using a compass and observe magnetic fields
• Understand the purpose of a commutator and how the Sharpie “break” works
• Reflect on how magnet strength and coil distance affect motor motion
Materials Needed
LV STEAM League Motor Base
2 safety pins
2 nuts and bolts
Magnetic wire
Wire cutters
2 AA batteries in holder
Compass
Jumper clamps
Sharpie marker
Neodymium magnet (permanently affixed in kit)
Journals
Teacher Preparation Notes
Review the motor-building steps ahead of time so you can guide students slowly and confidently. Prepare your own finished example motor to demonstrate. Ensure that batteries are fresh. Slide 16 contains detailed information about neodymium magnets. Show this slide only at your discretion. Because rules differ from district to district, check your local guidelines before giving students hands-on access to loose neodymium magnets. In the STEAM League kit, the magnets are permanently attached to the base board, eliminating many handling risks.
Safety Notes
We do not allow students to handle loose neodymium magnets unless permitted by local rules.
Magnets in the STEAM kit are fixed safely to the motor base.
We handle wire cutters carefully and never cut toward our body.
We keep battery leads separated until ready to attach them.
We keep fingers behind probe guides when testing with the compass.
If the motor becomes warm, disconnect batteries and let it rest.
Warm Up Activity
Ask students:
What do you think makes a motor spin?
Let students brainstorm. Then tell them today they’ll actually build one from scratch.
Lesson Flow
Step One: Learn About Motor Types
Use the slides to introduce DC motors, steppers, and servos. Keep the language calm and simple.
Journal prompt:
Which motor type do you think is used the most in everyday life?
Step Two: Motor vs. Generator
Explain that a motor has the same parts as a generator—coils, magnets, and a commutator—but instead of making electricity, it uses electricity to make spinning motion.
Step Three: Build the Motor Platform
Guide students through:
• Bending safety pins to a 90-degree angle
• Threading bolts through the motor base
• Securing safety pins with nuts
Teacher note: Move slowly and reassure students that their setup doesn’t need to be perfect.
Step Four: Create the Coil
Students wrap magnetic wire around one battery 20 times. They tie the extra wire around the coil and slide the coil off.
Demonstrate gentle wire stripping and explain that only the outside coating should come off, not the copper.
Step Five: Test the Coil with a Compass
Have students place the compass near the coil while briefly connecting the battery. They watch the needle move.
Explain that the coil becomes an electromagnet.
Step Six: Create the Commutator
Introduce the Sharpie trick:
Painting one side of each exposed wire creates an insulating break that mimics a commutator. This break allows the motor to pulse its magnetic field.
Step Seven: Slide 16 — Neodymium Magnets (Teacher Discretion)
Tell students that neodymium magnets are extremely strong and must be handled with care.
Emphasize:
• You may show this slide only if local rules allow.
• Students in STEAM League do not use loose neodymium magnets.
• In our kits, the magnets are permanently attached to the base board for safety.
Step Eight: Assemble the Motor
Students:
• Thread coil wires through the loops in the safety pins
• Connect battery wires to the safety pins
• Position the fixed magnet beneath the coil
• Give the coil a gentle push and watch it spin
Teacher note: Celebrate even small spins.
Step Nine: Troubleshooting
Use the checklist:
• Are the magnet and coil close enough?
• Is the Sharpie marking thick enough?
• Are the wires scraped too much or not enough?
Let students experiment kindly and patiently.
Teacher Notes for Each Slide
Slides 1–6: Motor types — keep calm and simple.
Slides 7–10: Shared parts — connect to generator lesson.
Slides 11–14: Building steps — go slowly.
Slide 15: Commutator — explain the Sharpie break.
Slide 16: Neodymium magnet safety — show only if allowed; magnets in kit are permanently mounted.
Slides 17–end: Assembly steps and troubleshooting.
Independent or Group Activity
Have students draw a labeled diagram of their motor and write a short explanation of how the commutator works.
Vocabulary and Concepts
DC Motor Converts electricity into spinning motion
Coil A loop of wire that becomes magnetic with electricity
Commutator A device that switches current to keep the motor spinning
Electromagnet A magnet made by electric current
Permanent magnet A magnet that always holds its magnetic field
Wrap Up
Ask:
What part of the motor was the most surprising?
Why do you think motors are used everywhere?
Exit Ticket
Draw your motor and circle the part that makes it spin.
Quiz
- What type of motor did we build?
- What does the Sharpie do for our motor?
- Why is slide 16 shown only at teacher discretion?
- Why is the magnet permanently attached in our kit?
- What makes the coil turn?
Teacher Reflection
Which steps were hardest for students?
Did the safety guidance feel clear?
Would another demonstration help next time?