
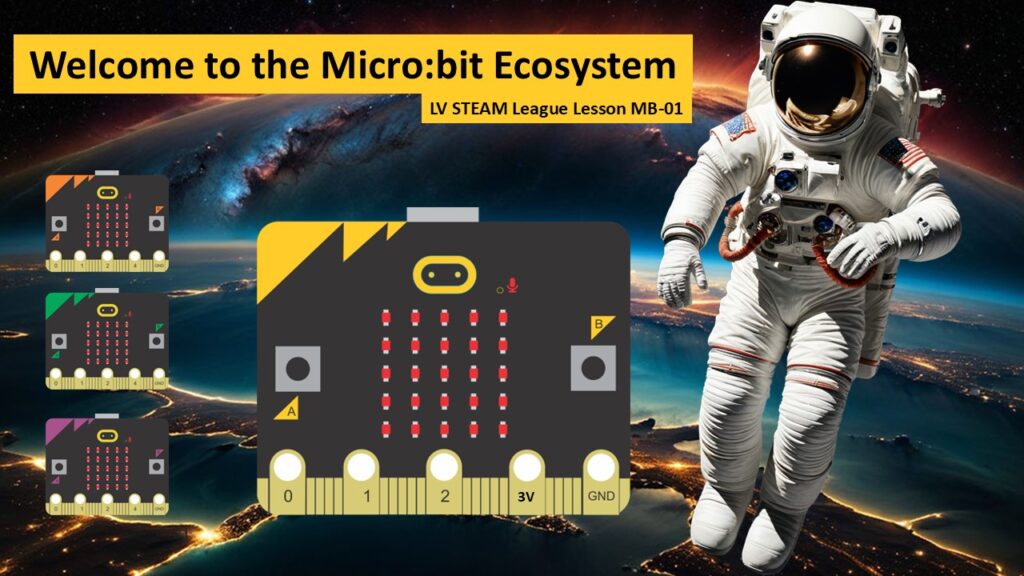
This lesson introduces students to the world of the Microbit. They get to see where it came from, who created it, and why it exists. Students explore the board’s most important parts, learning that this tiny tool can sense movement, display light, respond to button presses, and even communicate wirelessly. The goal of this session is to spark curiosity and give students a comfortable first look at the device they will use to build games and small robots in later lessons.
Student Learning Goals
By the end of this lesson students will be able to:
• Describe what a Microbit is and why it was created
• Identify key features on the Microbit board
• Recognize the difference between Microbit V1 and V2
• Explain how the Microbit can sense and interact with the world
• Build confidence in exploring the board hands on
Materials Needed
Microbits for students
A few sample boards for demonstration
Projector or screen
Simple printed diagrams of the board (optional)
Notebooks for student questions and discoveries
Teacher Preparation Notes
This is a gentle introduction. No coding happens yet. The goal is exploration and familiarity.
If students are nervous, remind them that the Microbit was designed for beginners. Every student can succeed with it.
If you have a mix of V1 and V2 boards, show both so students can compare. The PPT includes clear visuals about the differences.
Keep the pace relaxed and allow time for students to hold a board and turn it over in their hands.
Safety Notes
We handle boards carefully and avoid bending the pins.
We keep food and drinks away from electronics.
We only plug and unplug cables gently.
We treat every tool with respect so everyone’s equipment lasts all year.
Warm-Up Activity
Hold up a Microbit and ask students:
What do you think this little board can do?
Let students guess freely. Encourage creative answers.
This takes under five minutes and gets everyone curious before the official exploration.
Lesson Flow
Step One: The Story of the Microbit
Students learn who created the Microbit, when it was released, and why it was designed for classrooms.
Explain in simple language:
• The BBC and several technology partners created the Microbit to help kids learn to code and invent things.
• The first Microbits were given to students in 2016.
Teacher Note: Students often enjoy knowing that companies like Microsoft and ARM helped build it. It makes the device feel real and important.
Step Two: Exploring the Front of the Board
Use the slide visuals to guide students through each part they can see:
• The two buttons (A and B)
• The 5×5 LED display that shows pictures and patterns
• The gold pins that allow add-on electronics
• USB connector for programming
• The small logos and labels that help identify version information
Have students look at their own boards and find each part.
Teacher Note: If students jump to pressing buttons, that’s completely fine. Let them poke around a bit.
Step Three: Comparing Microbit V1 and V2
Hold up both versions if you have them. Explain the main difference:
• V1 requires external speakers
• V2 has a built-in speaker, microphone, and microphone activity LED
These allow sound projects without extra parts.
Teacher Note: Make this quick and simple. Students don’t need deep technical detail yet.
Step Four: Exploring the Back of the Board
Students turn the boards over to see the hidden features:
• The microprocessor (the “brain” of the Microbit)
• Radio and Bluetooth communication
• Accelerometer and compass for movement and direction sensing
• Battery connector
• Reset button
Teacher Note: Students are often amazed that such a tiny board has so many built-in tools. This is a fun moment to pause and let them absorb it.
Step Five: How the Microbit Interacts With the World
Explain a few examples of what students will do in future lessons:
• Create animations using the LED grid
• Use the buttons as controls
• Sense movement with the accelerometer
• Detect direction with the compass
• Build robots using motors and add-on boards
• Send messages wirelessly to other Microbits
Teacher Note: This step builds excitement for upcoming sessions.
Step Six: Group Reflection
Ask students:
What surprised you about the Microbit?
What do you think you could create with it?
What part of the board do you want to learn more about?
Let a few students share.
Teacher Notes for Each Slide
I can create a full slide-by-slide teaching guide if you want, but here is a general quick reference:
• Slides with history: Keep it short and story-like.
• Slides showing features: Pause and let students match each feature on their own board.
• Slides comparing versions: Only highlight the built-in sound difference.
• Slides showing sensors: Encourage gentle exploration, turning the board over slowly.
• Final slide “Are we ready to connect?”: This sets up MB-02, so simply say, “Next time we’ll learn how to connect and code.”
If you’d like the detailed per-slide script, just tell me and I’ll generate it.
Independent or Group Activity
Pass out Microbits (one per student or pair).
Have students:
• List as many parts of the board as they can find
• Sketch the Microbit front and back
• Label the features they remember
This reinforces knowledge gently without introducing coding yet.
Vocabulary and Concepts
Microbit – A small programmable computer designed for learning and creativity
Processor – The tiny chip that runs the code
LED Grid – A 5×5 display that lights up in patterns
Pins – Gold connectors used for adding electronics
Accelerometer – A tool that senses movement
Compass – A sensor that knows direction
Radio – A way for Microbits to talk to each other
Wrap Up
Ask students:
What did you discover about the Microbit today?
What part of the board feels the most exciting to you?
What do you wonder about for next time?
Exit Ticket
Students answer one question:
• Name two parts of the Microbit and what they do.
Optional second question:
• What feature do you want to try using first?
Quiz (5 questions)
- Who created the Microbit?
a. The BBC (correct) - What year were the first Microbits released?
• 2016 - What is the 5×5 grid on the front used for?
• Displaying pictures and patterns - What is one difference between Microbit V1 and V2?
• V2 has a built-in speaker and microphone - Name one sensor on the back of the Microbit.
• Compass or accelerometer
Teacher Reflection
What parts of the lesson felt smooth?
Where did students show the most curiosity?
Did any features need more explanation?
What would you adjust next time?