
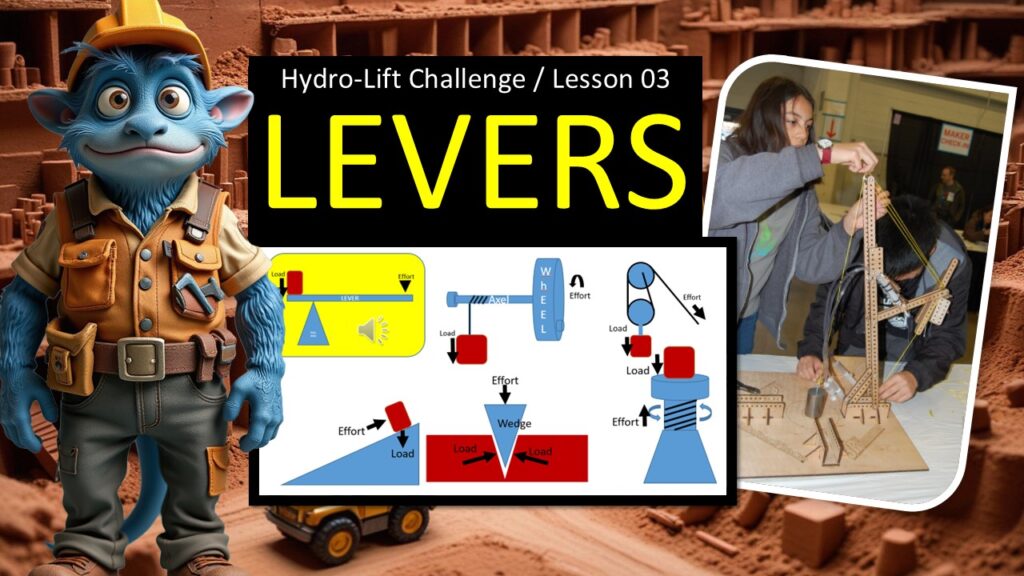
This lesson introduces students to levers, how they work, and why they are important in lifting systems. Students explore the idea of effort, load, and fulcrum, and they begin understanding how levers can give them mechanical advantage in the Hydro-Lift Challenge.
Goals for the Lesson
By the end of this lesson, students will:
• Understand what a lever is
• Recognize effort, load, and fulcrum
• See how moving the fulcrum changes lifting power
• Understand how levers help reduce effort
• Begin imagining how levers might help their lift design
Materials Needed
• Lever PPT (Lesson 03)
• A ruler or stick and a small object to lift (optional demo)
• Whiteboard or paper for quick sketches
Lesson Timing
Total: 25–30 minutes
• Warm Start: 2 minutes
• What a Lever Is: 5 minutes
• Jobs of a Lever: 5 minutes
• Effort, Load, Fulcrum: 5 minutes
• Mechanical Advantage: 5–10 minutes
• Close: 2 minutes
Lesson Flow
1. Warm Start
Direction: Show the title slide.
Teacher Speaking Points:
“Today we’re going to explore levers. Levers are simple machines that help us lift things more easily. You use them every day without even realizing it.”
2. What a Lever Is
Direction: Show the basic definition slide.
Teacher Speaking Points:
“A lever is a rigid bar that moves around a fixed point called a fulcrum. When you push on one end, you can lift or move something on the other end.”
3. Jobs of a Lever
Direction: Show the slide about what levers do.
Teacher Speaking Points:
“Levers help you in three main ways. They can reduce the force you need to lift something. They can increase the distance something moves. And they can change the direction of the force you’re using.”
4. The Three Parts of a Lever
Direction: Show effort, load, and fulcrum.
Teacher Speaking Points:
“A lever has three parts: the effort, which is where you push or pull; the load, which is what you’re trying to move; and the fulcrum, which is the point the lever pivots on.”
5. How Changing the Fulcrum Changes the Lift
Direction: Show the slide demonstrating fulcrum movement.
Teacher Speaking Points:
“When the fulcrum is closer to the load, the lift becomes easier. When it’s farther away from the load, it takes more effort. Moving the fulcrum changes how powerful the lever becomes.”
6. Mechanical Advantage
Direction: Show the mechanical advantage slides.
Teacher Speaking Points:
“Mechanical advantage is how much a machine helps you. A lever gives you more advantage when the effort arm is longer than the load arm. When you push farther, the lever lifts more.”
7. Everyday Levers
Direction: Show examples from the PPT.
Teacher Speaking Points:
“We use levers constantly: scissors, crowbars, bottle openers, wheelbarrows, brooms, and even your arm. Once you start looking for them, you’ll see them everywhere.”
8. Why Levers Matter for Hydro-Lift
Direction: Connect to the challenge.
Teacher Speaking Points:
“In the Hydro-Lift Challenge, levers can help you multiply the force from your hydraulics or help guide movement in a controlled way. Even small lever changes can make your lift work better.”
9. Quick Reflection
Direction: Invite short, low-pressure discussion.
Teacher Speaking Points:
“Think about your lift. Where might a lever help you? Could it help you lift more? Could it help you control motion? Just keep the idea in mind as we move forward.”
10. Close
Direction: End with encouragement.
Teacher Speaking Points:
“You now know how levers work and how they can give you mechanical advantage. In our next lesson, we’ll explore pulleys and see how they can multiply your lifting power even more.”