
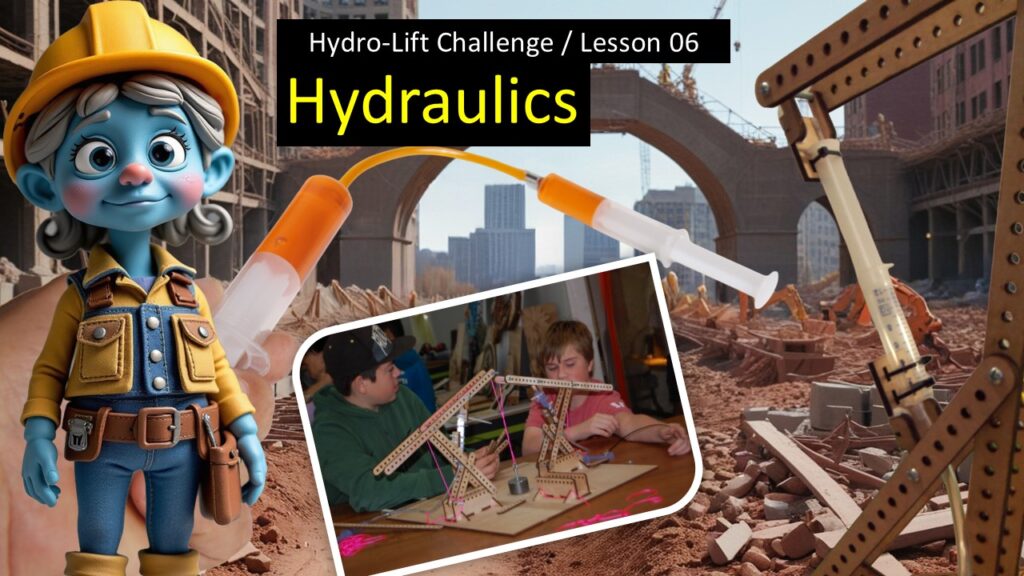
This lesson introduces students to hydraulics and how water pressure can create real lifting force. Students learn what pistons, cylinders, and tubing do, and begin seeing how hydraulics will power their Hydro-Lift device.
Goals for the Lesson
By the end of this lesson, students will:
• Understand what a hydraulic system is
• See how water creates pressure
• Understand pistons and cylinders
• Recognize how pushing one piston moves another
• Start imagining how hydraulics will power their lift
Materials Needed
• Hydraulics PPT (Lesson 06)
• One syringe pair and tubing for optional demonstration
• Clear cup of water (optional)
• Paper or board for drawing motion arrows
Lesson Timing
Total: 25–30 minutes
• Warm Start: 2 minutes
• What Hydraulics Are: 5 minutes
• Pistons & Cylinders: 5 minutes
• Pressure & Force: 5 minutes
• Hydraulic Motion: 5–10 minutes
• Close: 2 minutes
Lesson Flow
1. Warm Start
Direction: Show the title slide.
Teacher Speaking Points:
“Today we’re going to explore hydraulics. Hydraulics use water pressure to create movement and lifting power. This is the heart of your Hydro-Lift device.”
2. What Hydraulics Are
Direction: Show the basic definition slide.
Teacher Speaking Points:
“A hydraulic system uses liquid inside tubes and cylinders. When you push on the liquid, the liquid pushes back. That force gets used to move something.”
3. Pistons and Cylinders
Direction: Show the slides showing pistons inside cylinders.
Teacher Speaking Points:
“A piston is a tight-fitting piece inside a cylinder. When you push the piston, it pushes the water. When the water moves, it pushes another piston somewhere else in the system.”
4. Why Water Works
Direction: Show the pressure slides.
Teacher Speaking Points:
“Water doesn’t compress. When you push on it, the force travels through the water instantly. That lets your motion in one piston turn into motion in another piston.”
5. Moving One Piston Moves the Other
Direction: Show the two-syringe diagram or motion slides.
Teacher Speaking Points:
“When you push one piston in, the other piston moves out. When you pull one back, the other pulls in. Hydraulics let you transfer force from one place to another.”
6. Changing the Size of Pistons
Direction: Show slides with different piston sizes.
Teacher Speaking Points:
“When the pistons are the same size, the motion is the same on both sides. If one piston is larger, you may get more force but less motion. If one is smaller, you may get more motion but less force.”
7. How Hydraulics Help You Lift
Direction: Show slides tying hydraulics to lifting.
Teacher Speaking Points:
“Hydraulics give you smooth, steady lifting force. Your pistons might not move very far, so you will use simple machines like levers or pulleys to increase height or reduce effort.”
8. Clean, Simple Systems Work Best
Direction: Show slides about tubing and hose limits.
Teacher Speaking Points:
“Your tubing needs to be the right length and free of air bubbles. The cleaner your hydraulic system is, the more dependable your lift will be.”
9. Why Hydraulics Matter for the Hydro-Lift Challenge
Direction: Connect to the challenge.
Teacher Speaking Points:
“Your hydraulics are your power source. They create the force that will lift the weight. Your job is to use simple machines to guide and multiply that force into a successful lift.”
10. Quick Reflection
Direction: Offer a simple prompt.
Teacher Speaking Points:
“Think about your future lift. How might your team use the pistons? Will they push a lever? Will they pull a rope? Will they move part of a frame? There are lots of possibilities.”
11. Close
Direction: End the lesson warmly.
Teacher Speaking Points:
“You now understand how hydraulics move and how they create force. In our next lesson, we’ll look at ideas and warnings in the ‘Secret Manual’ that can help you avoid common problems.”